- Overview
- Key Features at a Glance
- Get started with the Pimenko theme
- Installation
- Initial Setup
- Features in Detail
- Global site customization in the "General Settings" tab
- Customizing the site's CSS style in the "Advanced Settings" tab
- Modifying the default course catalog from the "Pimenko Features" tab
- Teachers can add custom images at the top of course pages
- Changes to the behavior of several standard Moodle features via the "Pimenko Features" tab
- Create a fully customized website homepage from the "Homepage Settings" tab
- Improving the login page from the "Login Page Settings" tab
- Customizing the Site Header from the "Navigation Bar"
- Customizing the footer from the "Footer" tab
- Install a Moodle plugin available on GitHub
- Conclusion
Overview #
The Pimenko theme is a powerful solution for transforming your Moodle site into an attractive and functional e-learning platform. Developed by Pimenko, this theme offers a wide range of additional features designed to enhance Moodle’s functionality.
With its additional features, you can transform your site to suit any type of project, and take advantage of our Moodle partner services: platforms for the general public, higher education institutions, middle schools, high schools, adult education platforms, and more. Its flexible design and wide range of features provide a unique experience for your blended learning courses, whether they complement in-person classes or are 100% online.
About the Pimenko theme
- Moodle 3.11: MOODLE_311_STABLE branch
- Moodle 4.0: MOODLE_400_STABLE branch
- Moodle 4.1: MOODLE_401_STABLE branch
- Moodle 4.2: MOODLE_402_STABLE branch
- Moodle 4.3:MOODLE_403_STABLE branch
- Moodle 4.4:MOODLE_404_STABLE branch
- Moodle 4.5: MOODLE 405 STABLE branch
- Moodle 5.0: MOODLE 500 STABLE branch
- Moodle 5.1: MOODLE 501 STABLE branch
- Moodle 5.2: Development and Testing Underway
Key Features at a Glance #
- Advanced customization: Easily tailor your site’s appearance to match your brand image.
- Advanced Features: Take advantage of options that go beyond Moodle’s standard capabilities.
- Enhanced user experience: Provide your learners and instructors with an intuitive, modern interface.
- Flexibility: Suitable for a variety of projects, from corporate training to higher education.
The Pimenko theme offers customization and a unique, intuitive user experience. It is the result of several years of expertise and development. Combine the various features of this plugin to suit your needs and take advantage of personalized support to optimize your training platform.
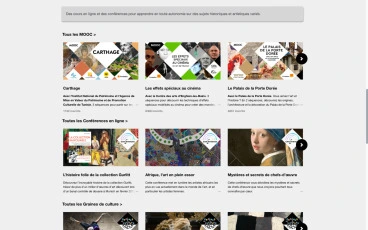
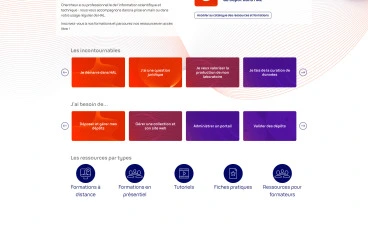
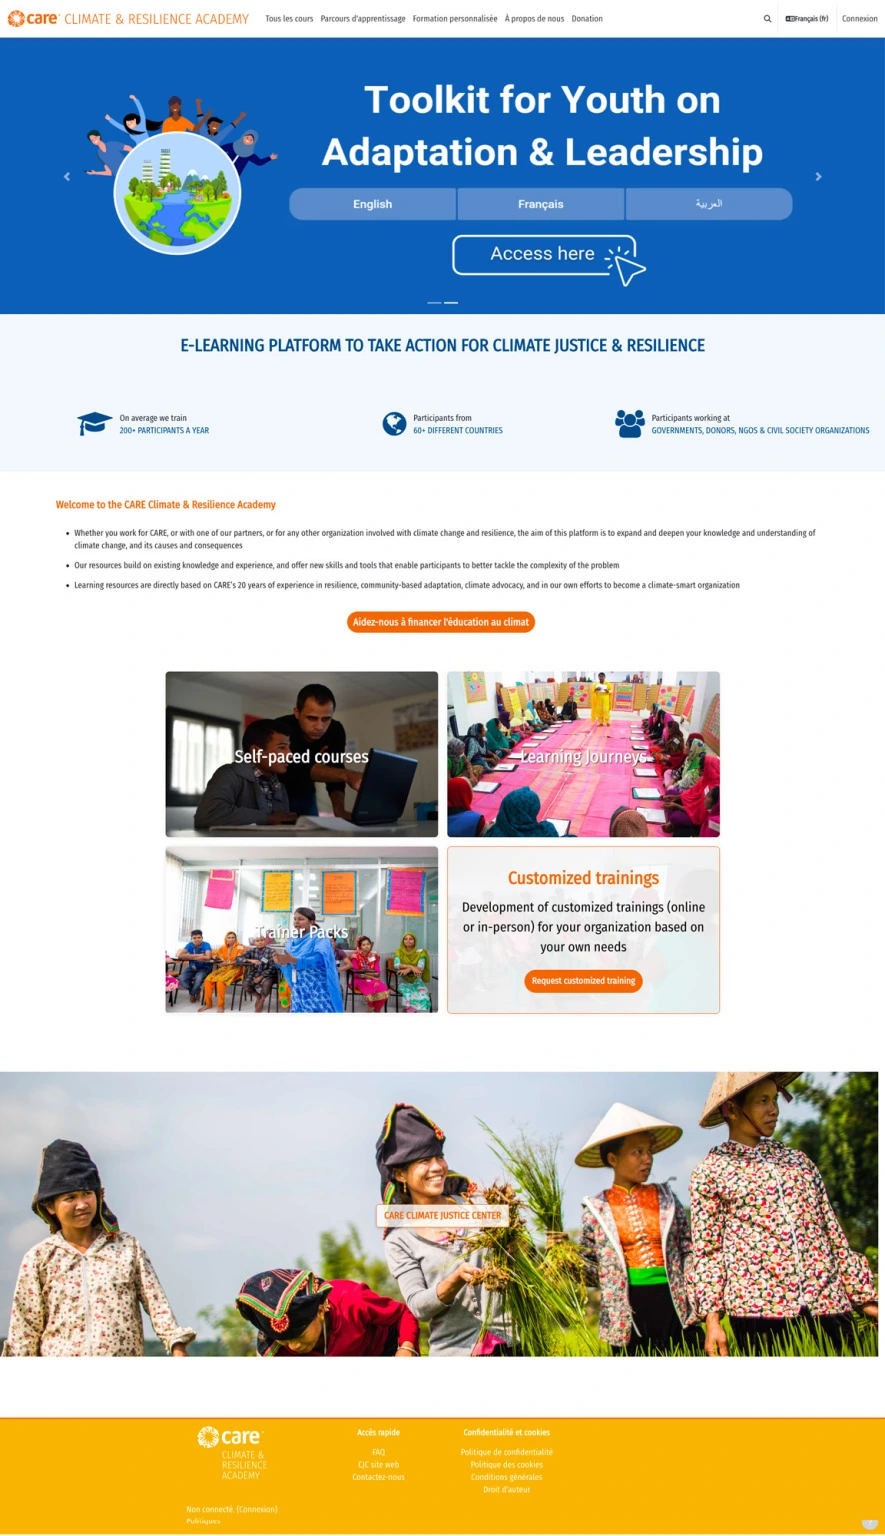
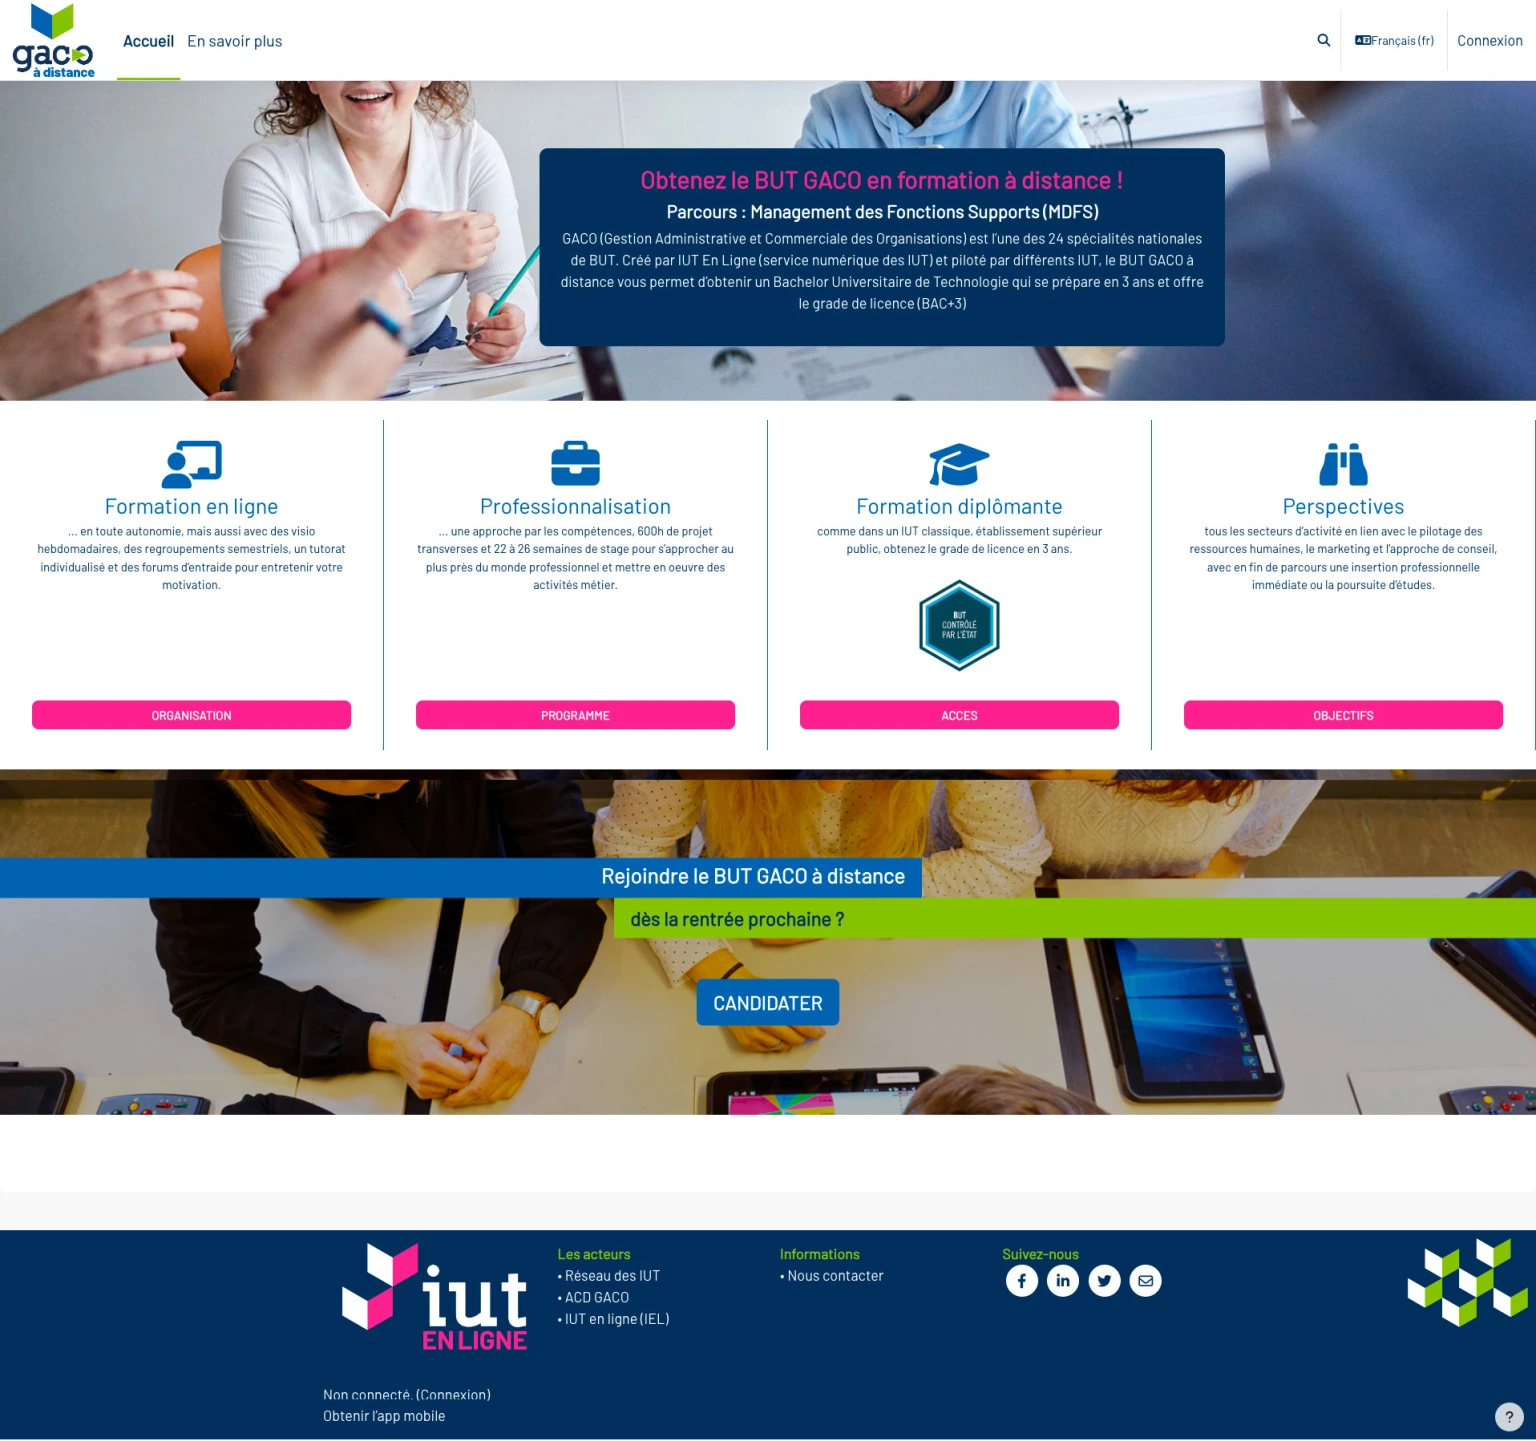
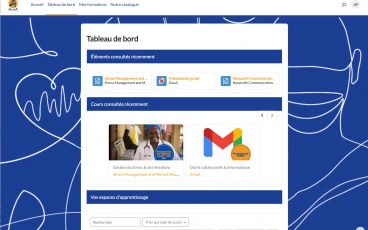
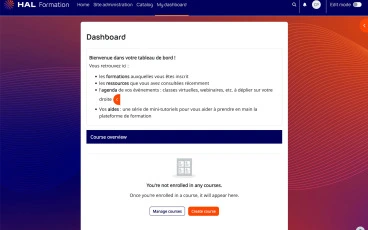
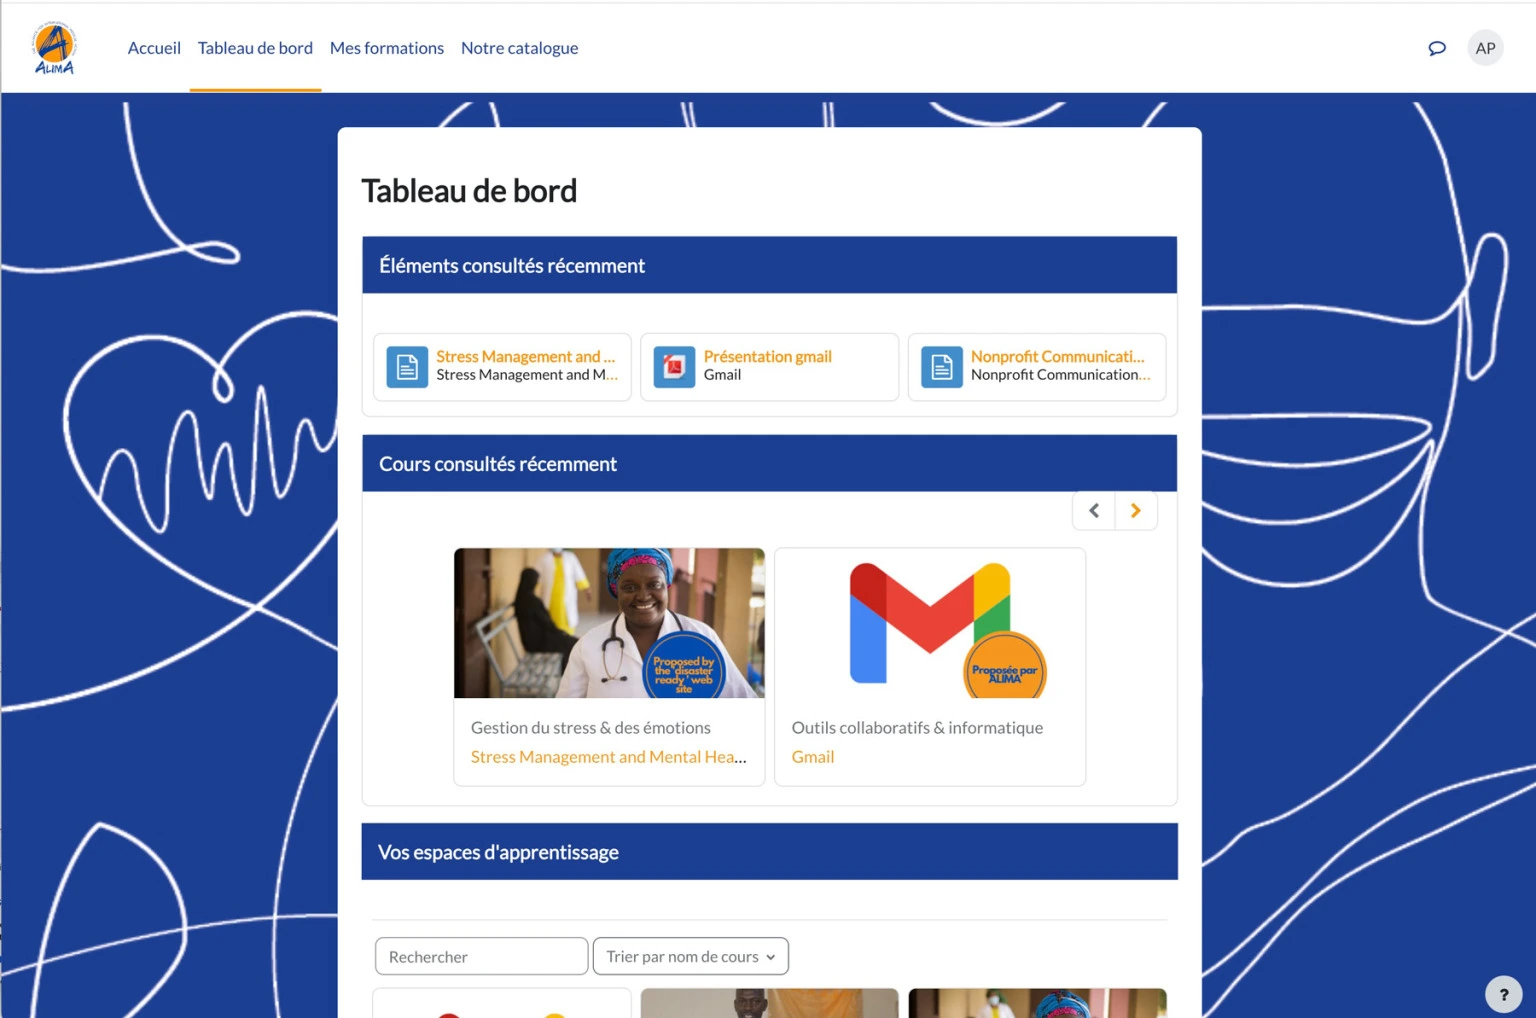
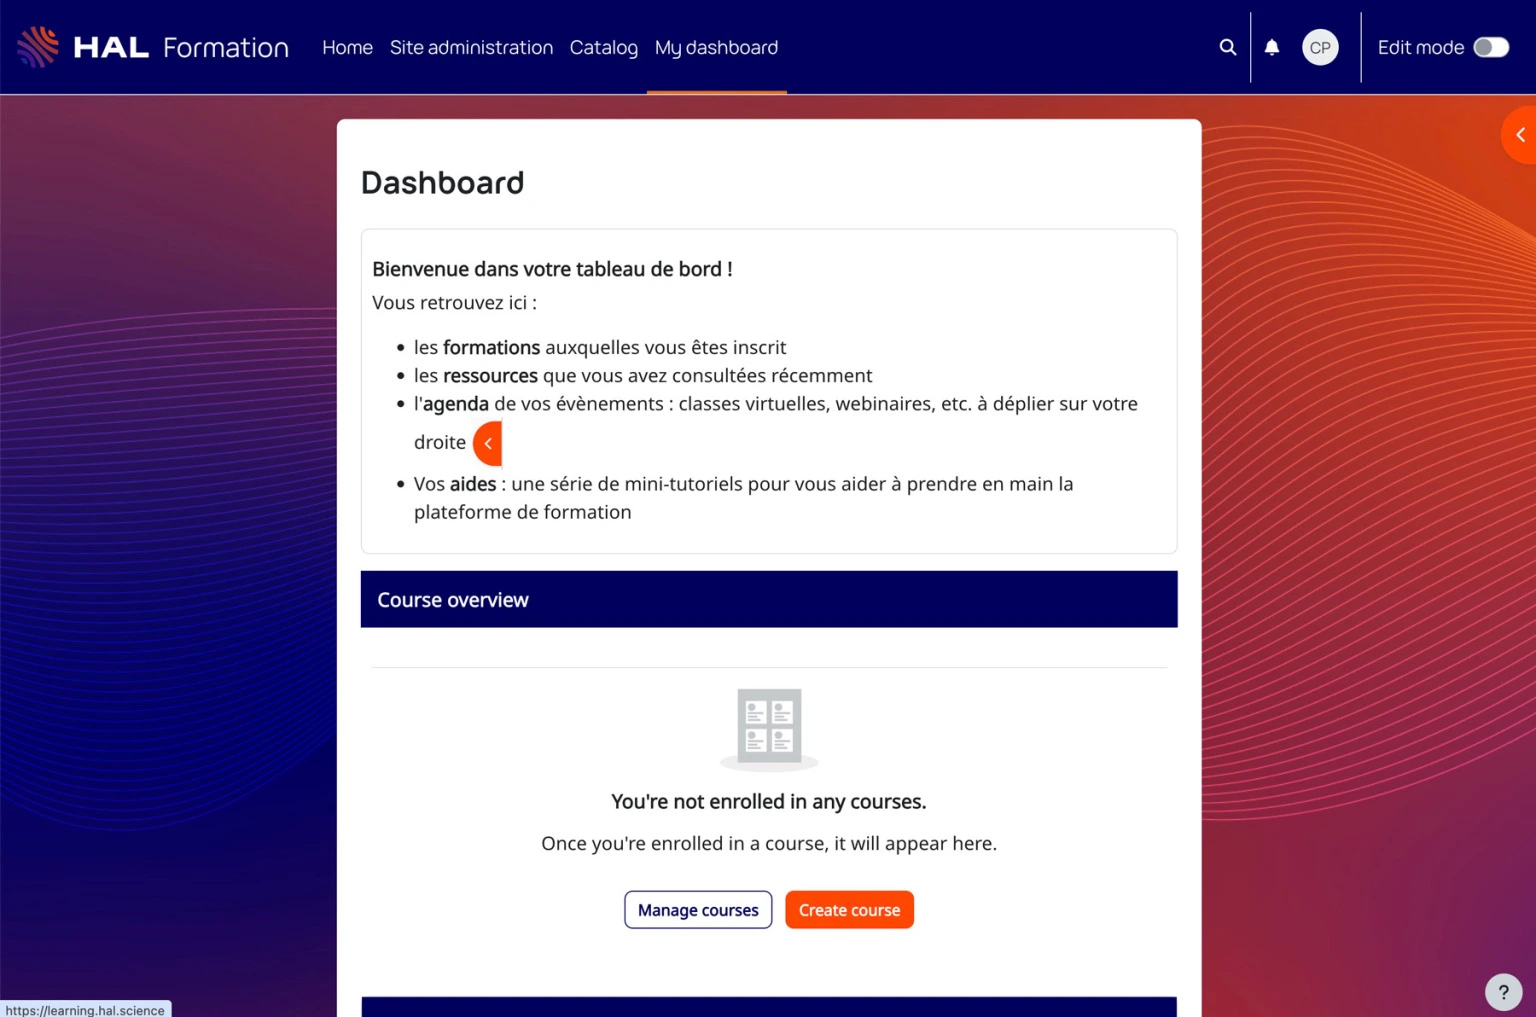
Discover customized platforms featuring the theme:


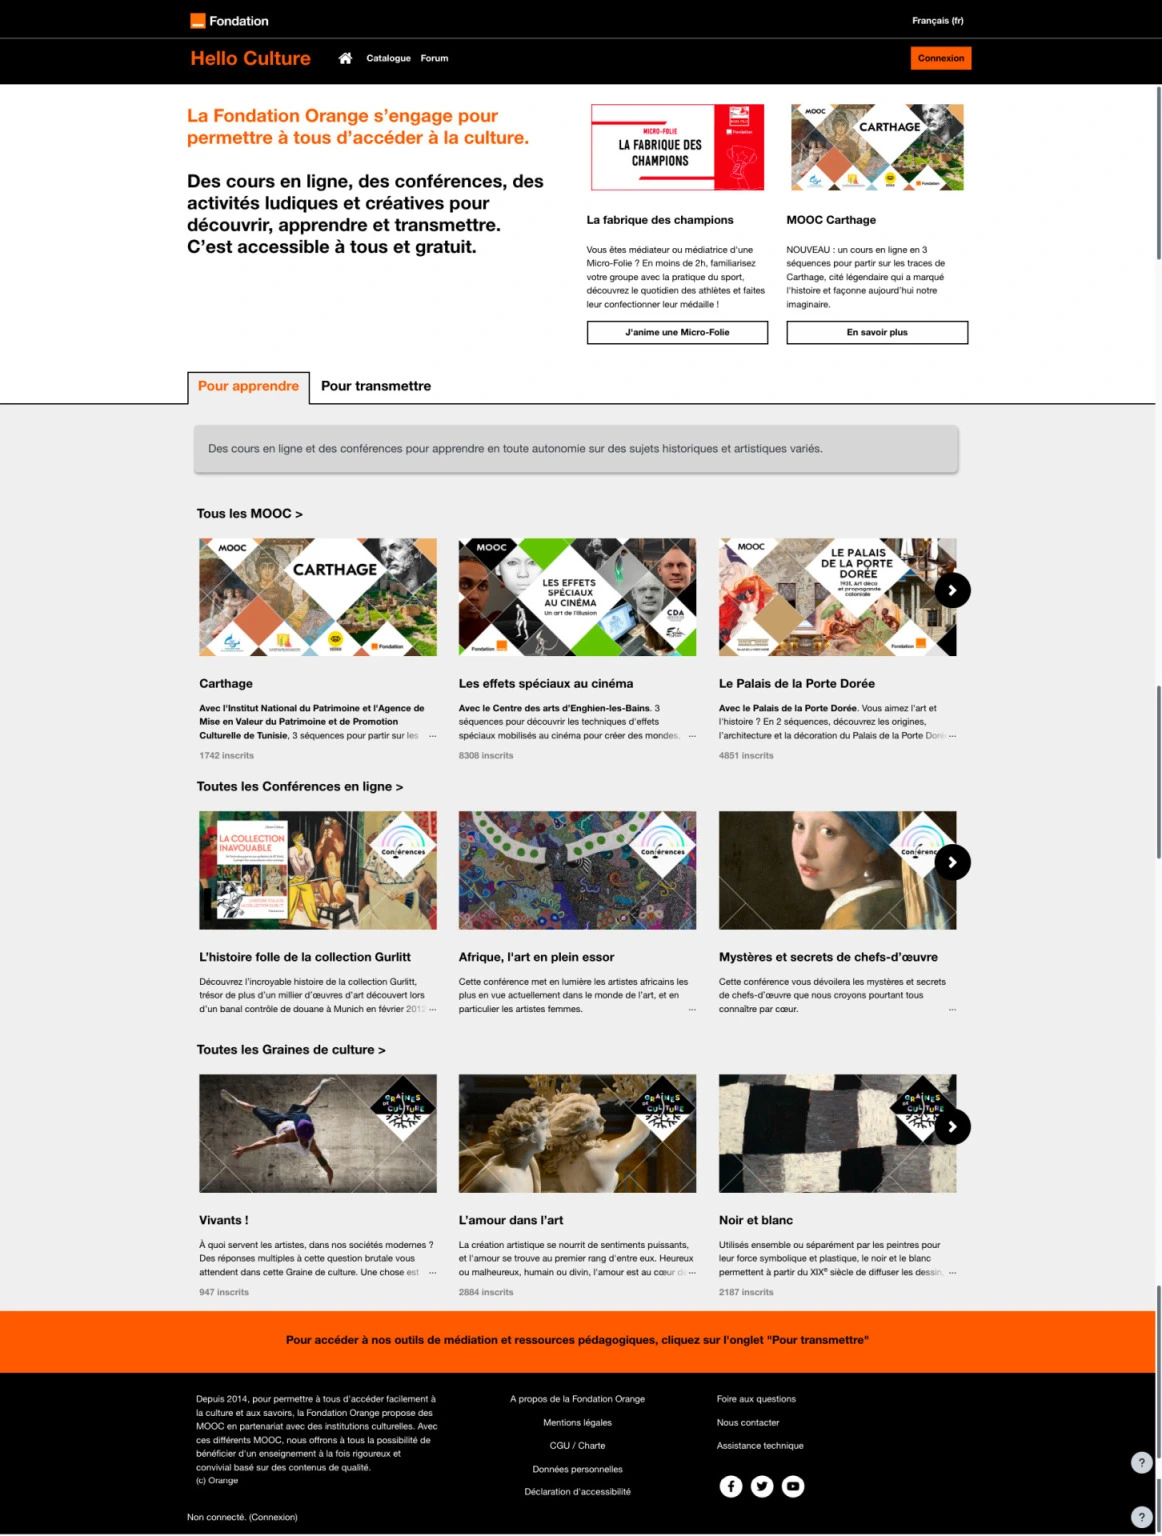
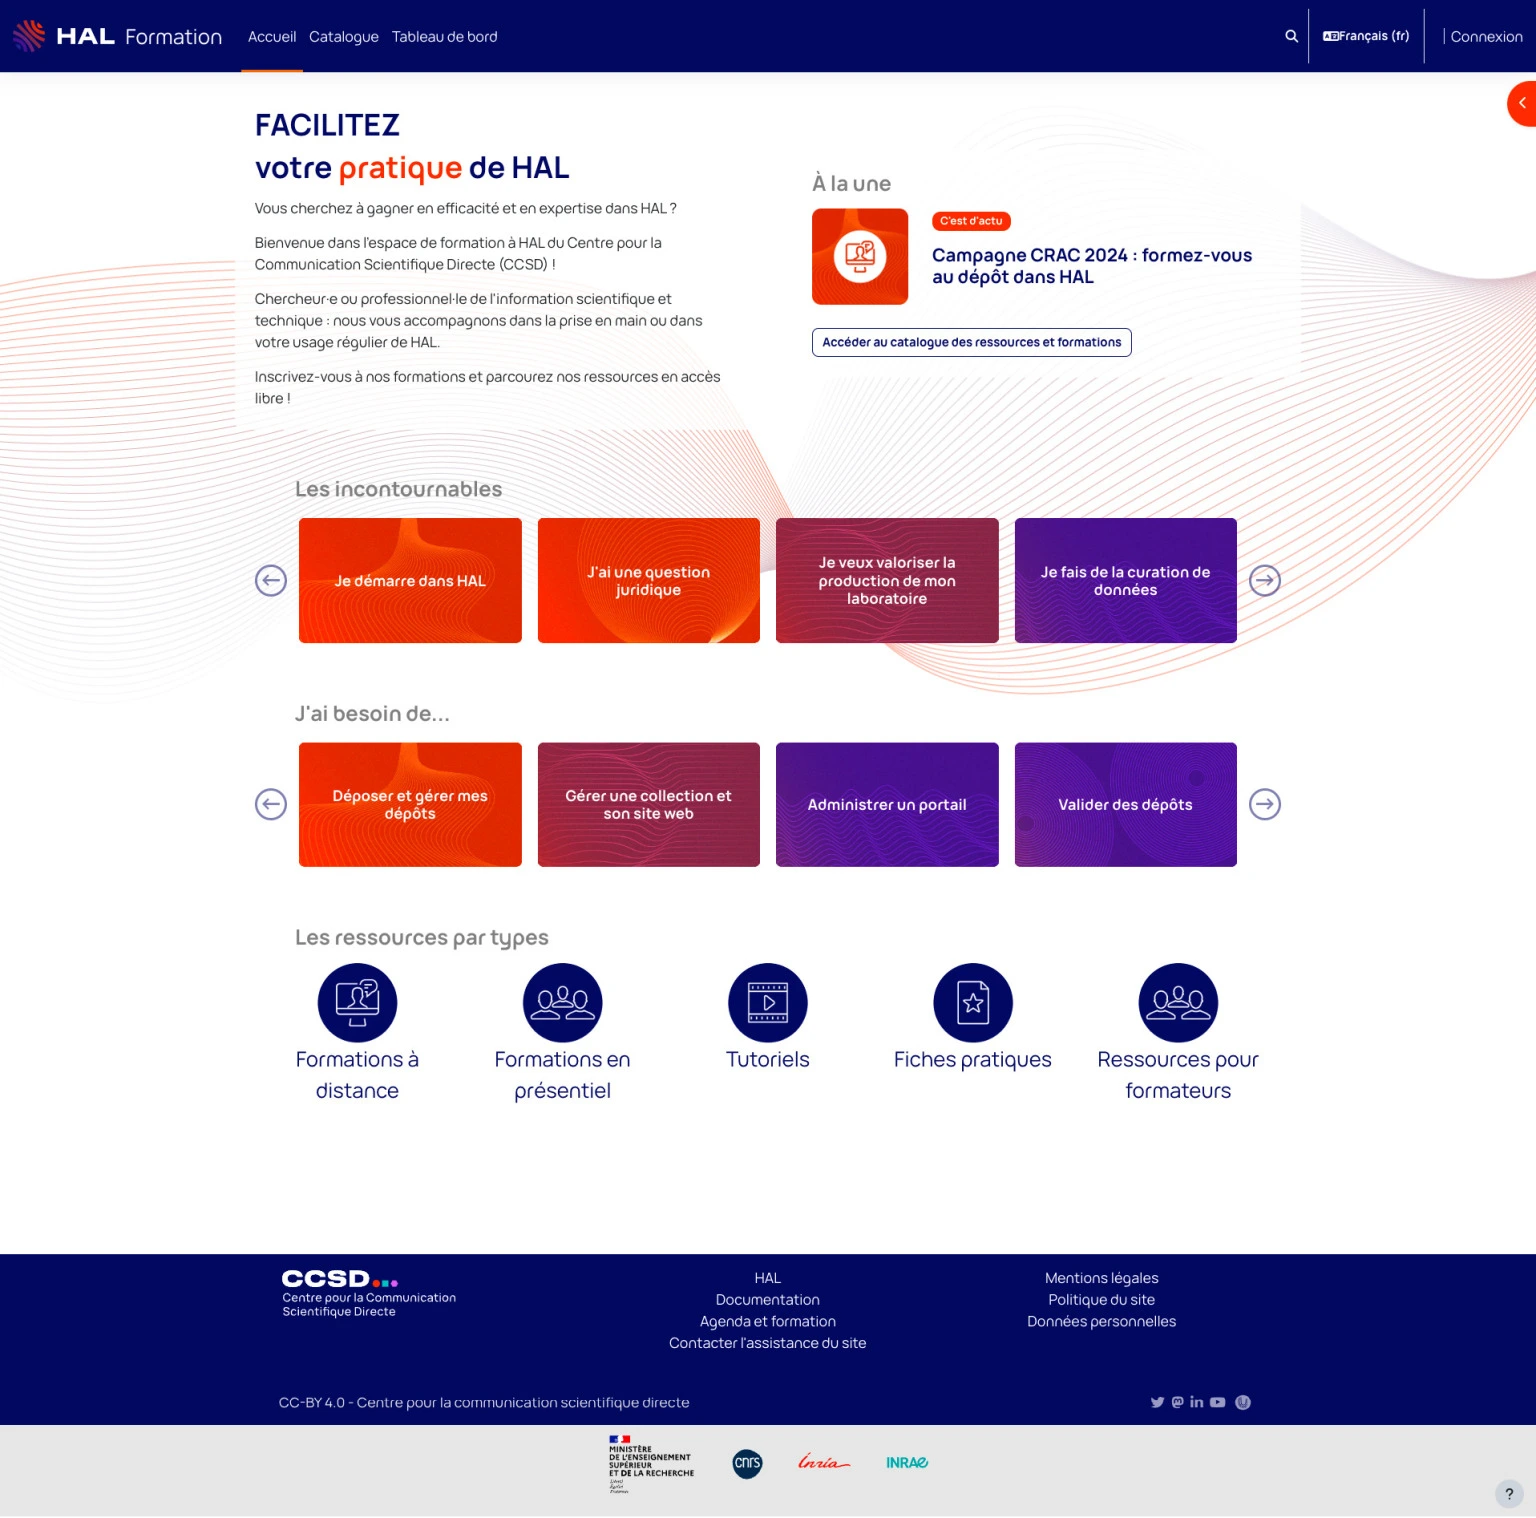
Get started with the Pimenko theme #
Installation #
- Download the Pimenko theme from the official Moodle website or the Pimenko GitHub repository.
- Log in to your Moodle site asan administrator.
- Go to Site Administration >, Plugins >, and Install Plugins.
- Upload the Pimenko theme ZIP file and follow the installation instructions.
Initial Setup #
After installation, access the theme settings via Site Administration >, Appearance >, Themes >, Pimenko.
Features in Detail #
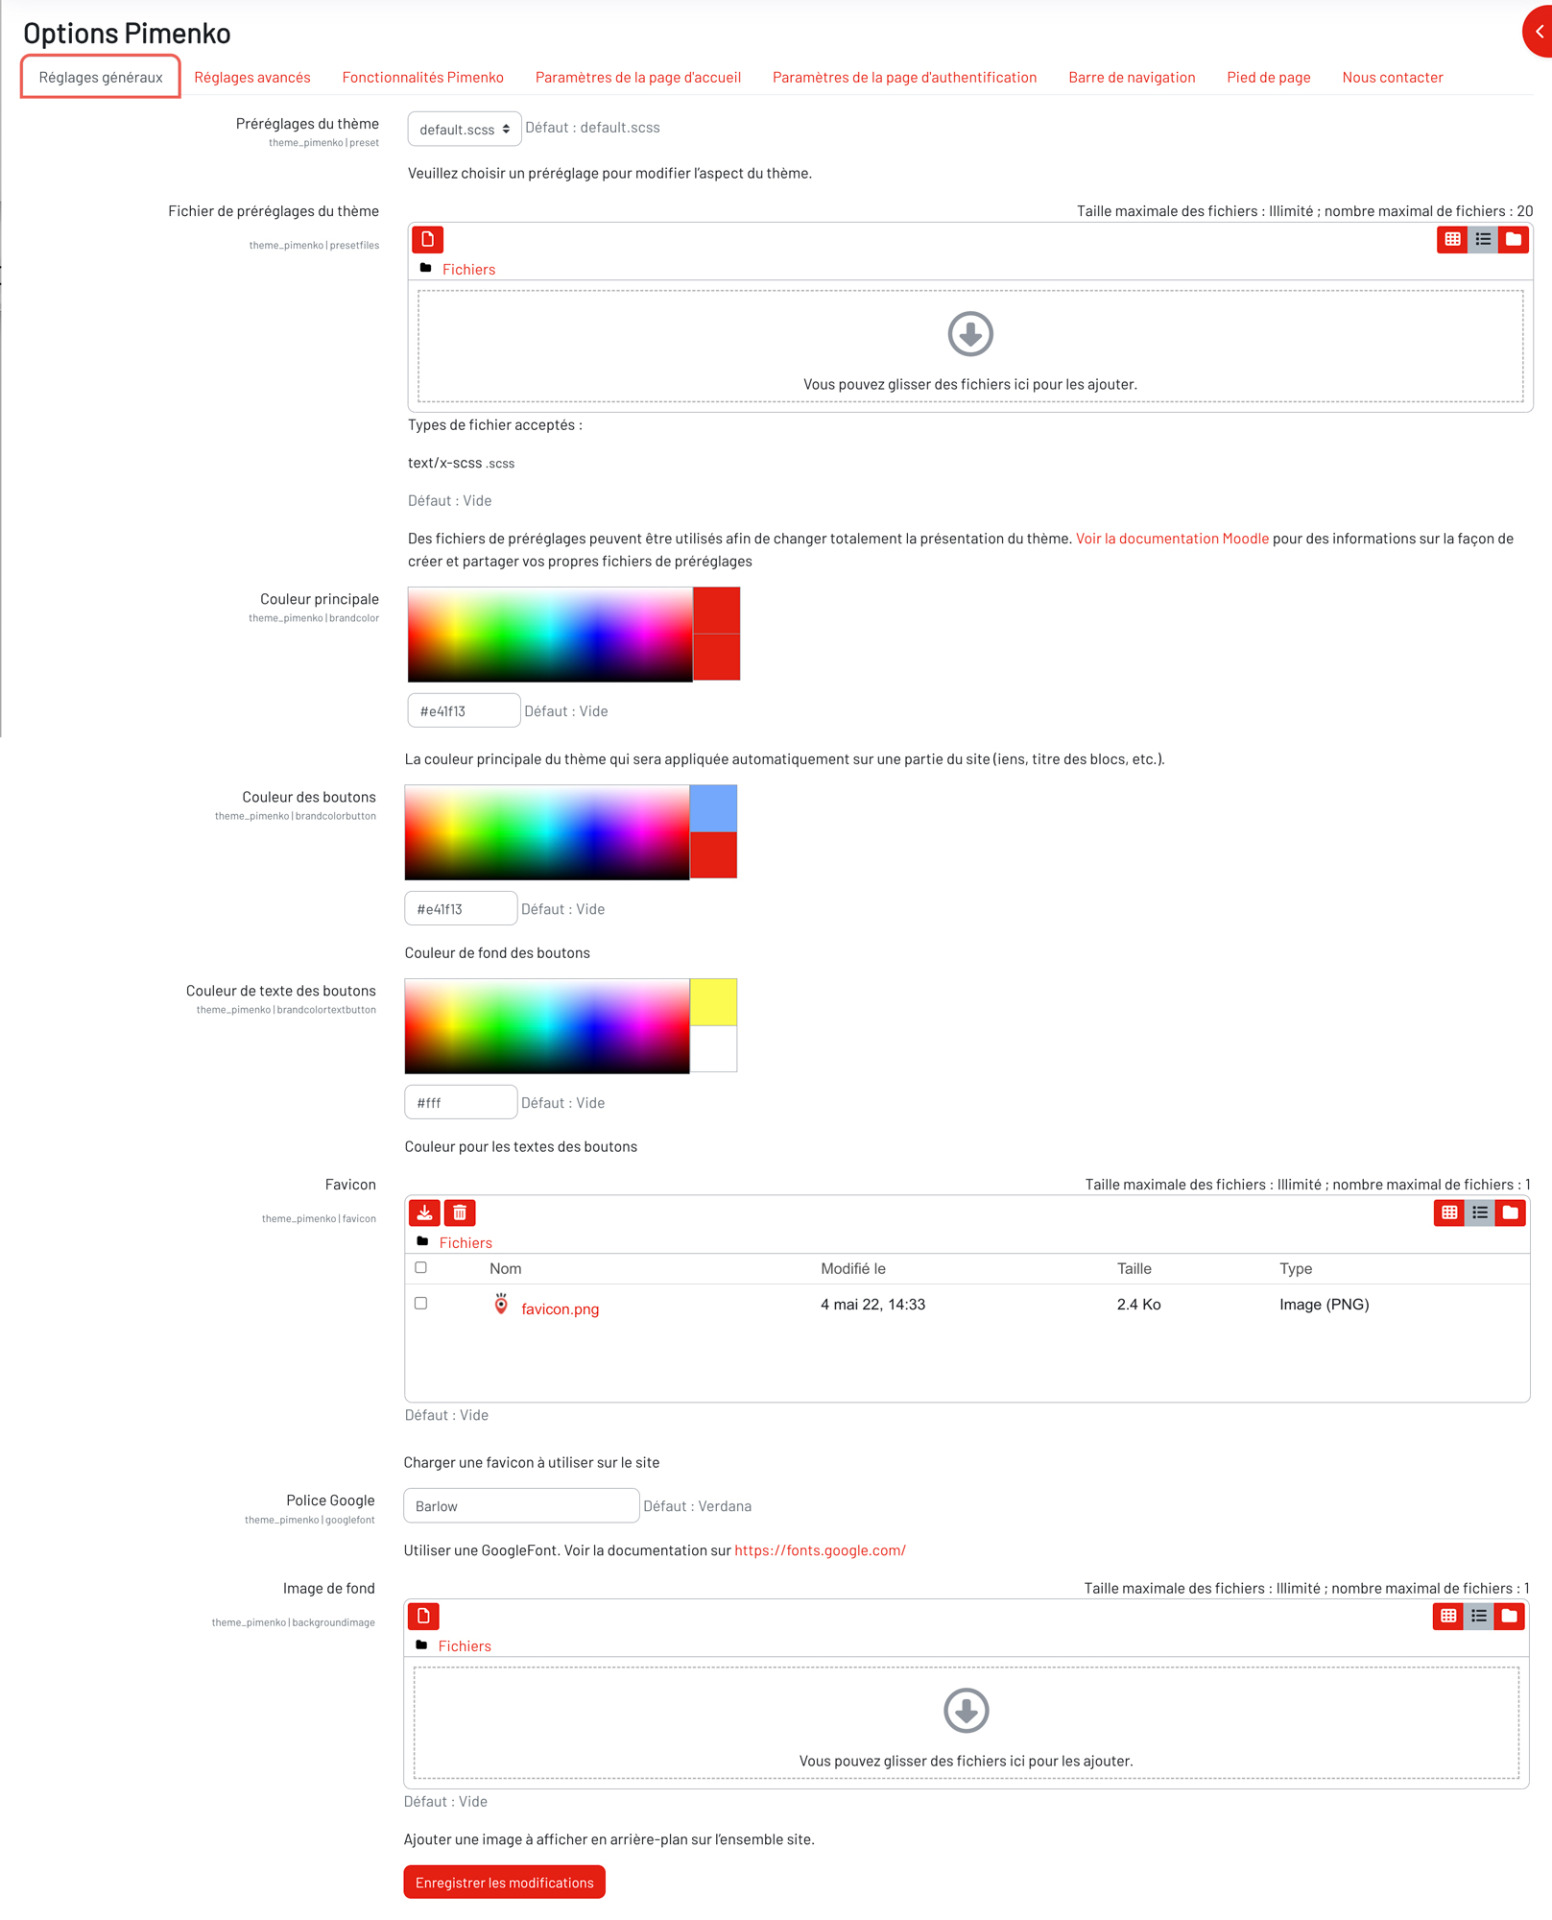
 Global site customization in the “General Settings” tab #
The Pimenko theme offers you many options for customizing the overall appearance of your Moodle site. Here’s how to get the most out of these features.
Theme Presets #
Just like in the official Moodle theme, you can use an .scss file. This language is an advanced way to write CSS style sheets. For example, this allows you to quickly apply style settings created for other Moodle sites, or it may be useful for developers who prefer to use this type of file to manage the site’s styling.
Define the primary brand color and other basic colors for the site #
To maintain visual consistency on your website:
- Look for the “Primary Color” option in the settings.
- Choose a color that matches your brand guidelines.
- This color will be automatically applied to various elements of the site, such as links.
Customize the buttons #
Give your buttons a unique look:
- Find the “Button Color” and “Button Text Color” options.
- Choose colors that complement your primary brand color.
- Check how it looks on different pages to ensure visual consistency.
Note: Make sure the color you choose for the button text contrasts well with the background color to ensure optimal readability. You must choose a color whose contrast complies with accessibility guidelines (aim for Level AA / a minimum contrast of “7,” for example, using this tool: https://webaim.org/resources/contrastchecker/.)
By using these customization options, you can create a visually appealing learning environment that aligns with your institution’s identity. Feel free to experiment with different combinations to find the perfect style for your Moodle site.
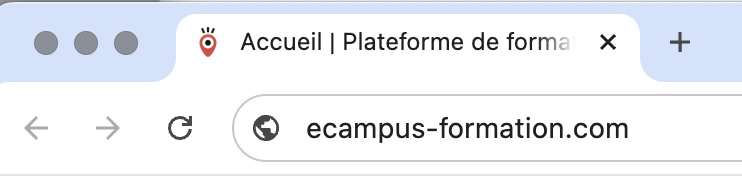
Customize the favicon #
A favicon is the small icon that appears inthe browser tab.
To customize it:
- Find the “Favicon” option in the theme settings.
- Upload your custom image (usually in .ico or .png format).
- Save your changes.
Important: Make sure your favicon is clearly visible even when scaled down to a small size (16×16 pixels).
Change the site’s font #
Pimenko lets you easily change the font on your website using Google Fonts.
- Access the Pimenko theme settings.
- Look for the “Custom Font” option.
- Select a font from the list of available Google fonts.
- Save your changes.
Choose a legible, professional font that reflects your institution’s image.
Note: If you want to use a font that isn’t available in Google Fonts, you’ll need to import it manually using custom CSS.
Add a background image #
To give your site a unique visual touch, you can add a background image:
- In the theme settings, locate the “Site Background Image” option.
- Upload the image of your choice.
- Adjust the display settings to suit your preferences.
Choose a light, subtle image so as not to visually overload your site or interfere with the readability of the content.
Examples of images added as the website’s background:

Customizing the site’s CSS style in the “Advanced Settings” tab #
In this tab, you can directly edit certain aspects of your site’s style. By using CSS and the “classes” or “IDs” on your Moodle site, you can target specific elements on your pages to customize the site’s design.
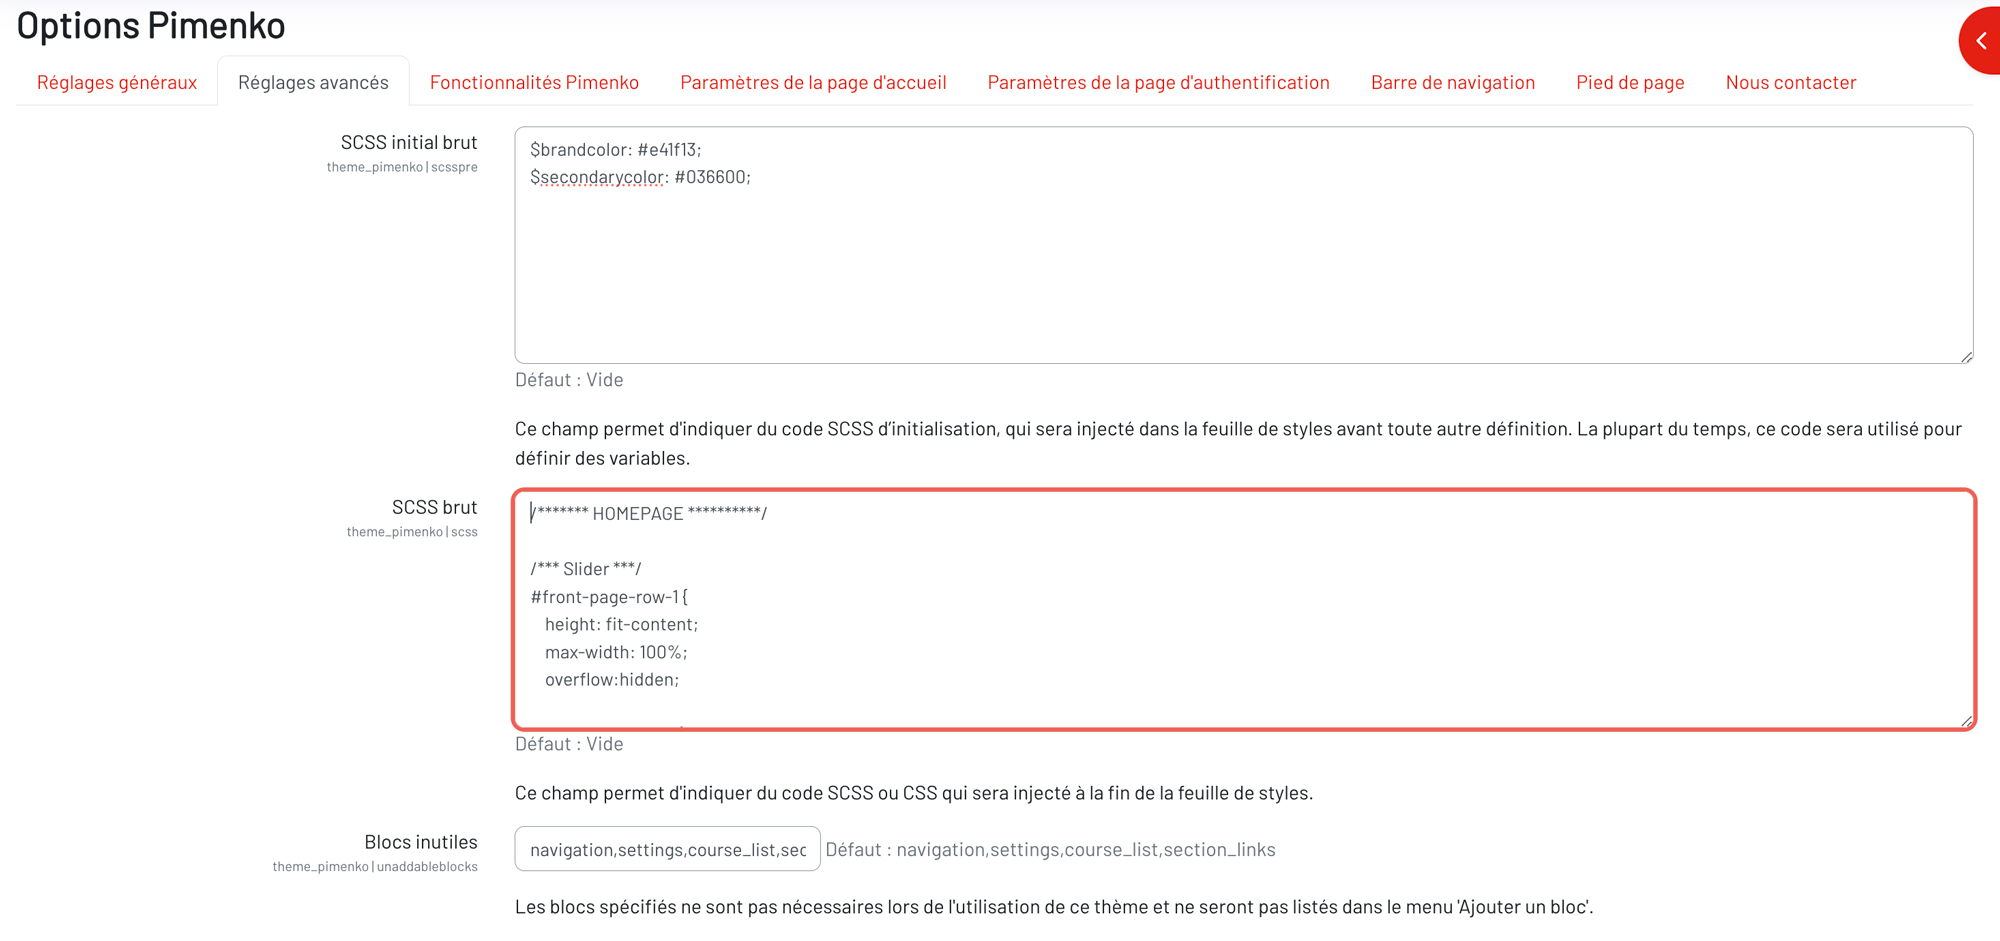
Using Advanced SCSS Customization Options #
For advanced users, Pimenko offers the option to further customize the theme using SCSS:
- Go to the “Initial Gross SCSS” and “Gross SCSS” fields in the advanced settings.
- In ” Raw SCSS,” define your variables ( colors, sizes, etc.).
- Use ” raw SCSS” to add more complex custom CSS styles and call the variables you’ve declared.
Use these options to fine-tune the appearance of your site and create a unique visual experience.
Unnecessary blocks #
This option allows you to remove certain blocks (logged-in users, badges, calendar, etc.) from the list of available blocks after clicking the “Add a Block” button.
For example, if you want to prevent users from adding a block that displays the list of courses in the right-hand sidebar of the dashboard, you can enter the block ID (“course_list”) in the “Unnecessary Blocks” field.
If you have any questions about a block’s ID, please feel free to contact us.
Modifying the default course catalog from the “Pimenko Features” tab #
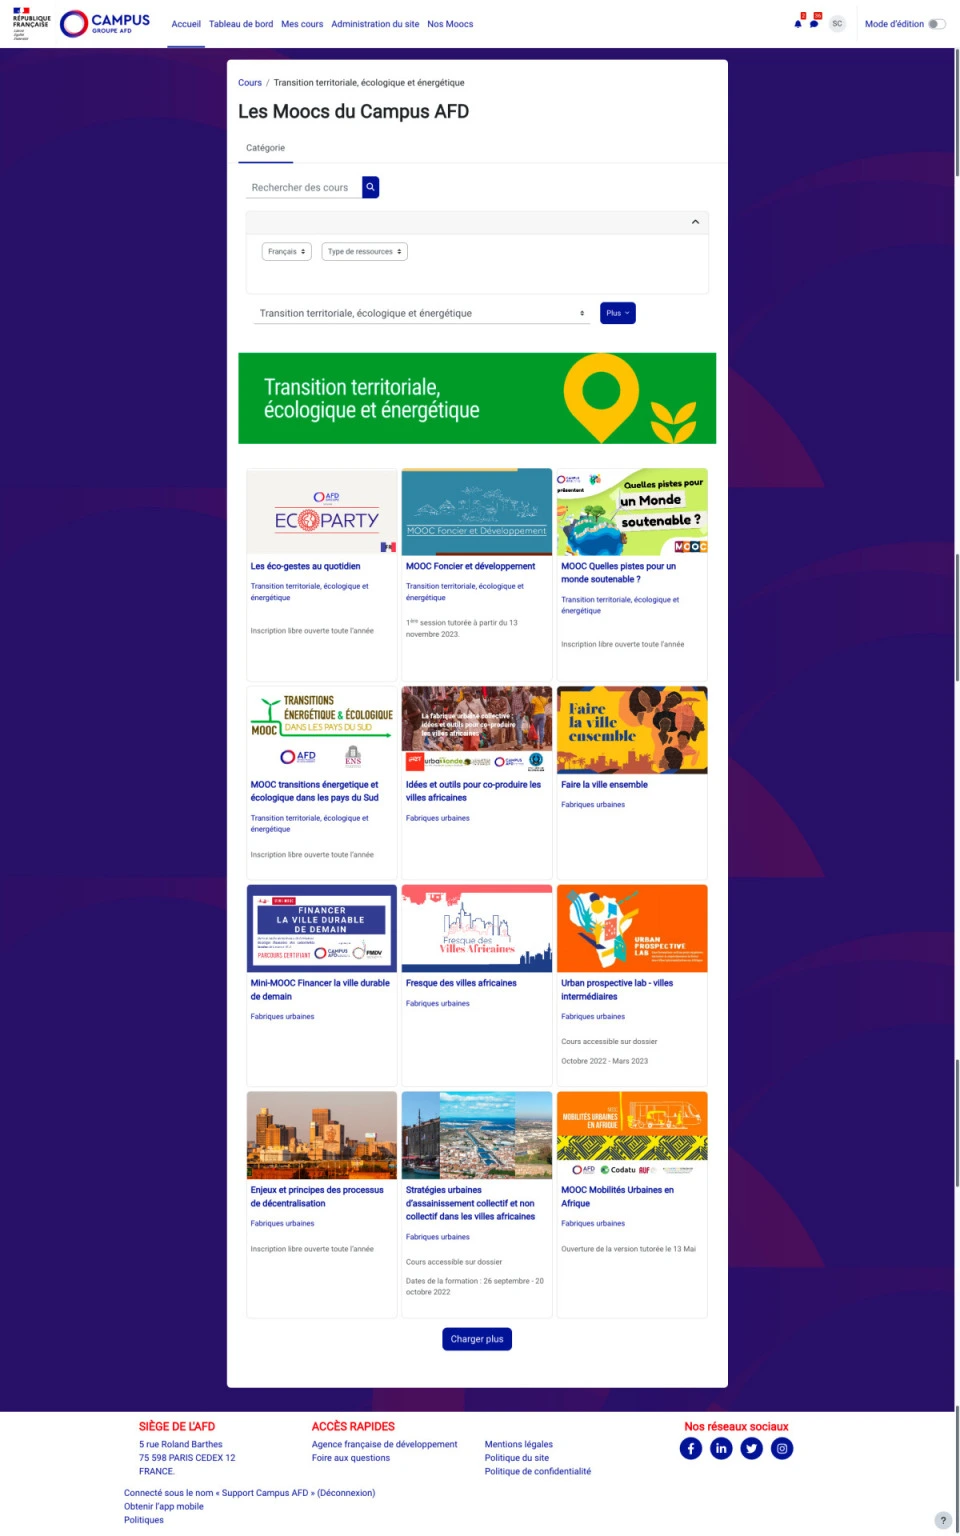
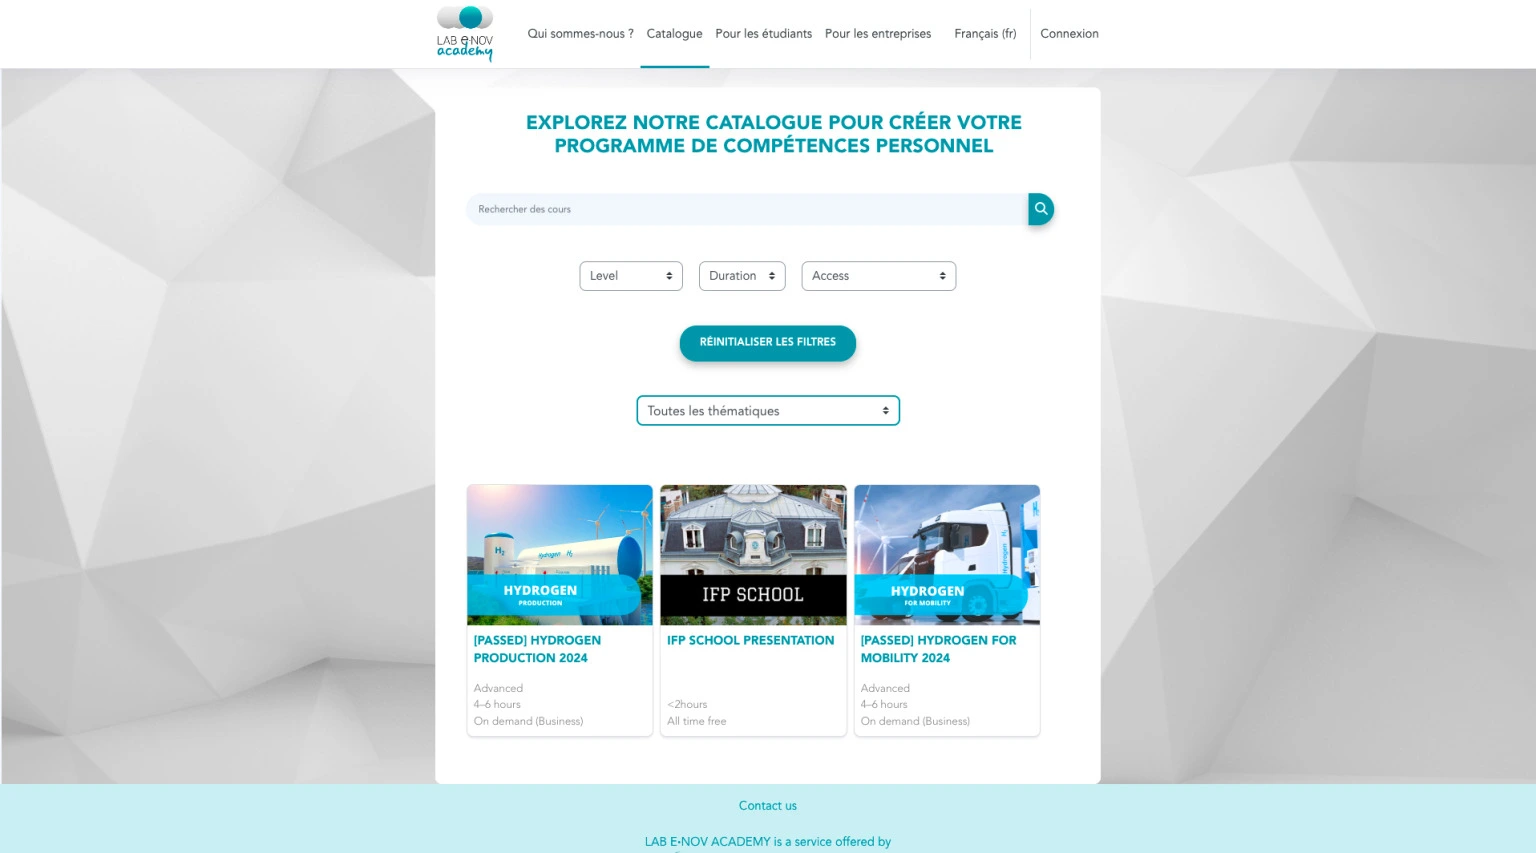
The Pimenko theme transforms Moodle’s standard course list into an interactive and visually appealing catalog. It also allows you to change how course images are displayed. Here’s how to take advantage of these features to showcase your courses and make them easier for your users to discover.
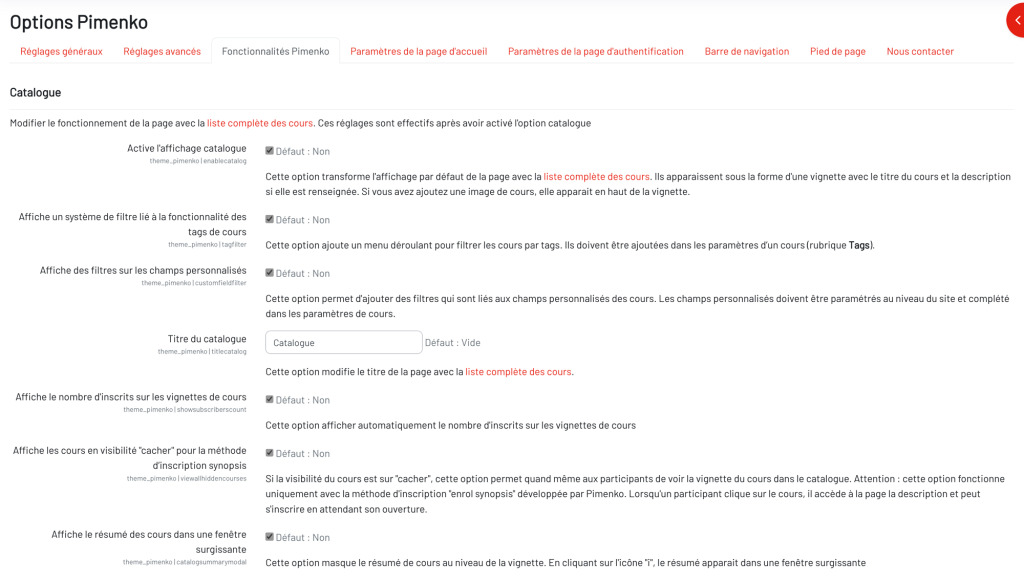
Enable the Pimenko catalog system #
If you want to use the Pimenko catalog for Moodle, the first thing you need to do isenable this feature.
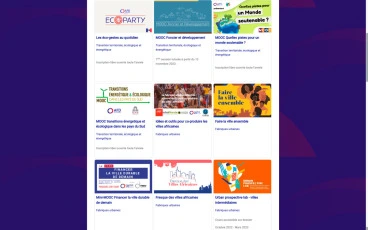
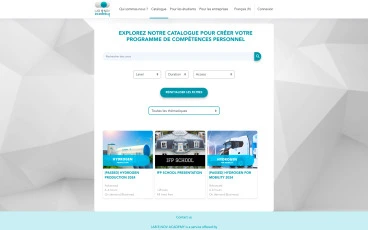
Examples of a custom catalog using the Pimenko theme:
Set up an advanced filtering system #
Filters are often effective in helping users quickly find the courses they’re interested in.
- Access the catalog filtering settings.
- Select the desired filter options:
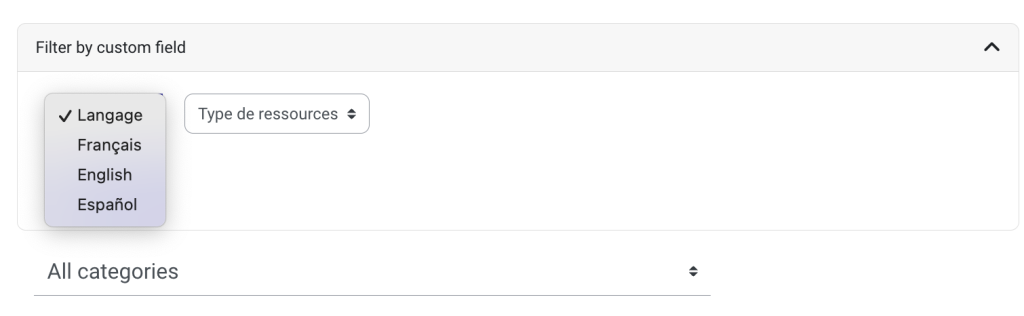

Teaching Tip: Use consistent tags and well-structured custom fields to maximize the effectiveness of the filtering system. Custom fields can, for example, relate to duration, language, and the type of online training (self-paced, instructor-led, assessment, etc.). Tags can be based on themes or on other tags you’ve set up on your site.
Customize the catalog title #
To adapt the catalog to your context:
- Find the “Catalog Title” option in the settings.
- Enter the desired title (for example, “Our Training Programs,” “Course Catalog,” etc.).
- Feel free to customize the title’s style (font, size, color) using CSS if you’d like.
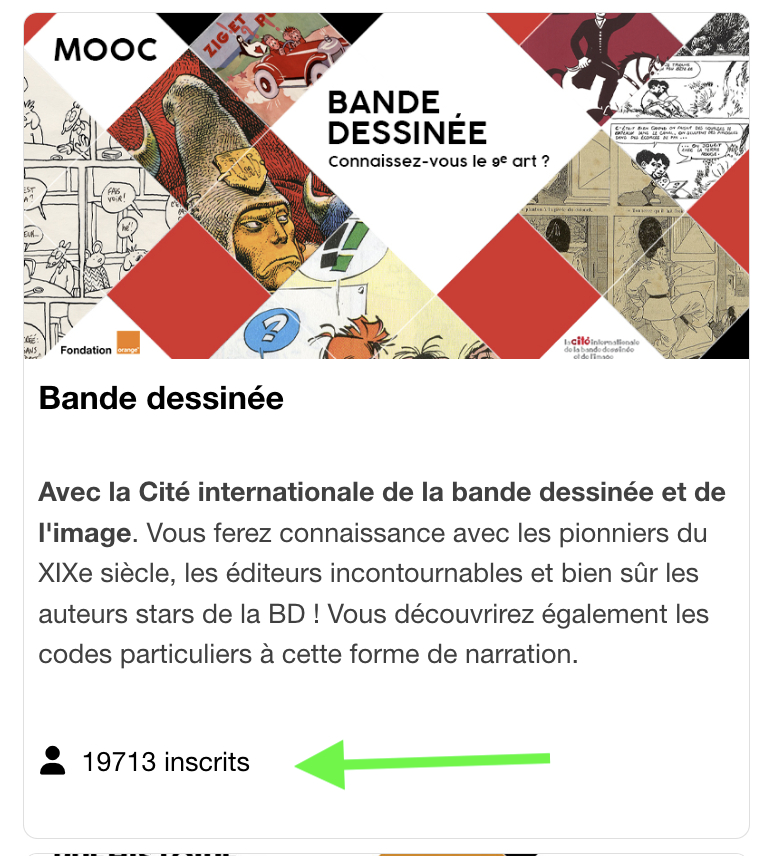
Display the number of registrants on the thumbnails #
To give an idea of how popular the courses are:
- Find the option “Show the number of enrolled students on course thumbnails.”
- Enable the feature by clicking on it.
Note: Think about the impact of this information. A large number of enrolled students may be appealing, but a small number could discourage some learners. At Pimenko, we use this feature primarily for MOOC-style and general-public platforms.
Show hidden courses (using the “Synospis” plugin) #
If you are using theSynospis registration method developed by Pimenko (see our documentation on this topic by clicking here):
- Find the “Show hidden courses” option.
- Enable the feature by clicking on it.
Make sure this option is consistent with your overall course and enrollment management strategy. At Pimenko, we use this feature to showcase courses in an engaging way during the pre-registration period—that is, before the course officially opens.
Display the course summary in a pop-up window #
If you don’t want to use Moodle’s standard text box with the course description below the course image, you can choose this display option. An icon appears on the course thumbnails, and when users click on it, a pop-up window opens with the course description.
Thumbnail with an icon to display the pop-up window with a description

Example of a descriptive pop-up window

To achieve this result:
- Find the “Show hidden courses” option.
- Enable the feature by clicking on it.
Optimizing the Catalog User Experience: A Few Tips #
To get the most out of your enhanced catalog:
- Make sure all courses have attractive and consistent cover images.
- Write concise but informative course summaries for the pop-ups if you use this feature.
- Use custom fields consistently to make filtering easier.
- Train your teachers to use tags and categories effectively.
Consider creating a style guide for your course images to ensure a consistent and professional look throughout the catalog.
By using these advanced features of the course catalog, you can create an engaging and effective course discovery experience for your learners. Feel free to adjust your settings regularly based on user feedback to optimize the experience.
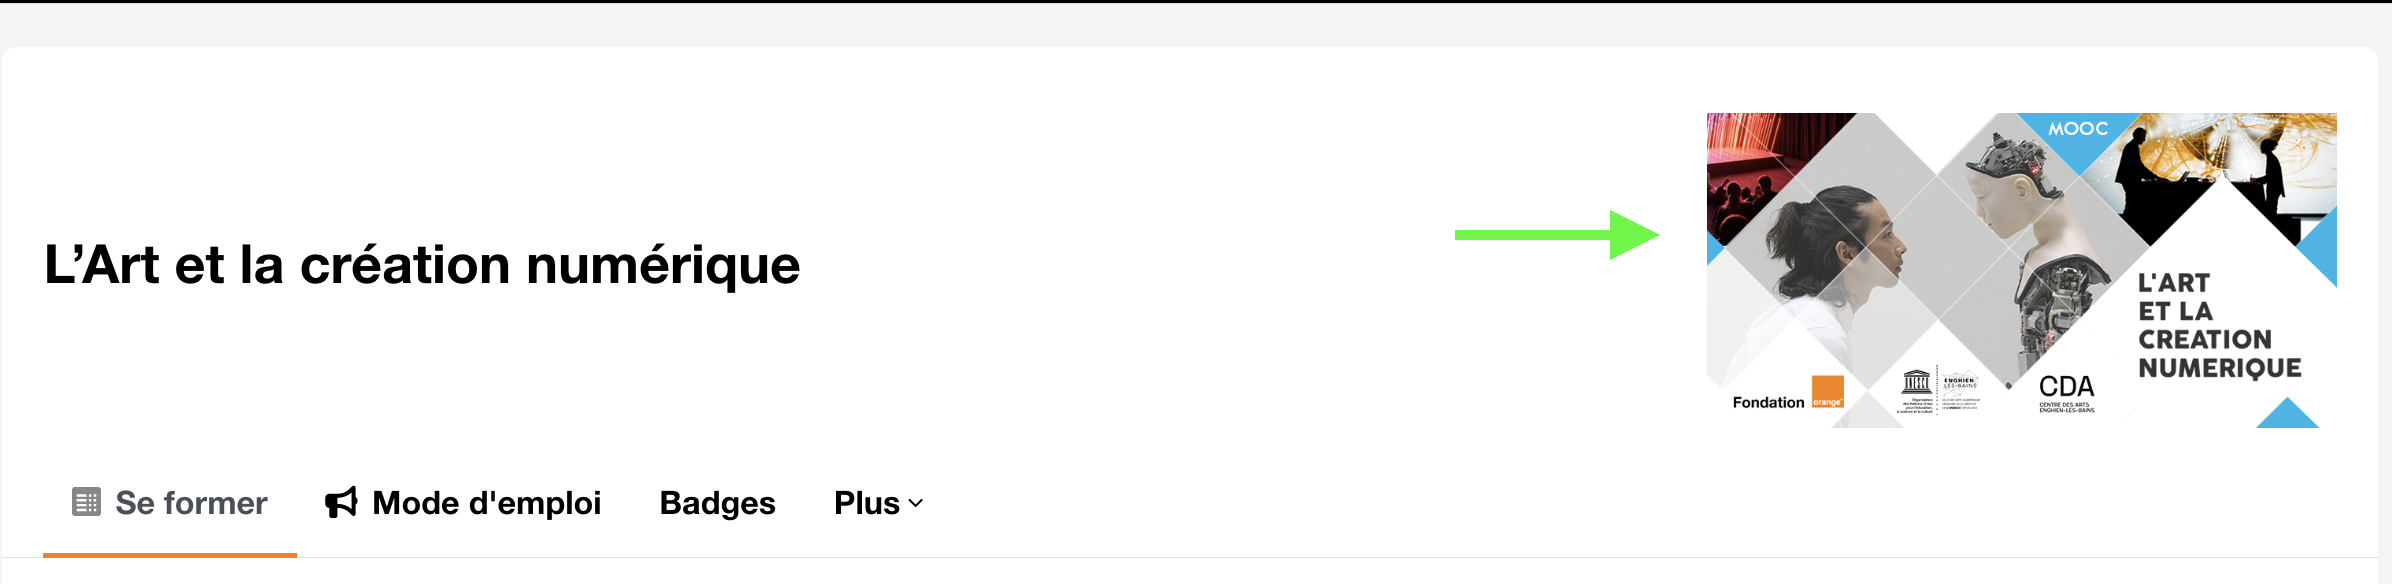
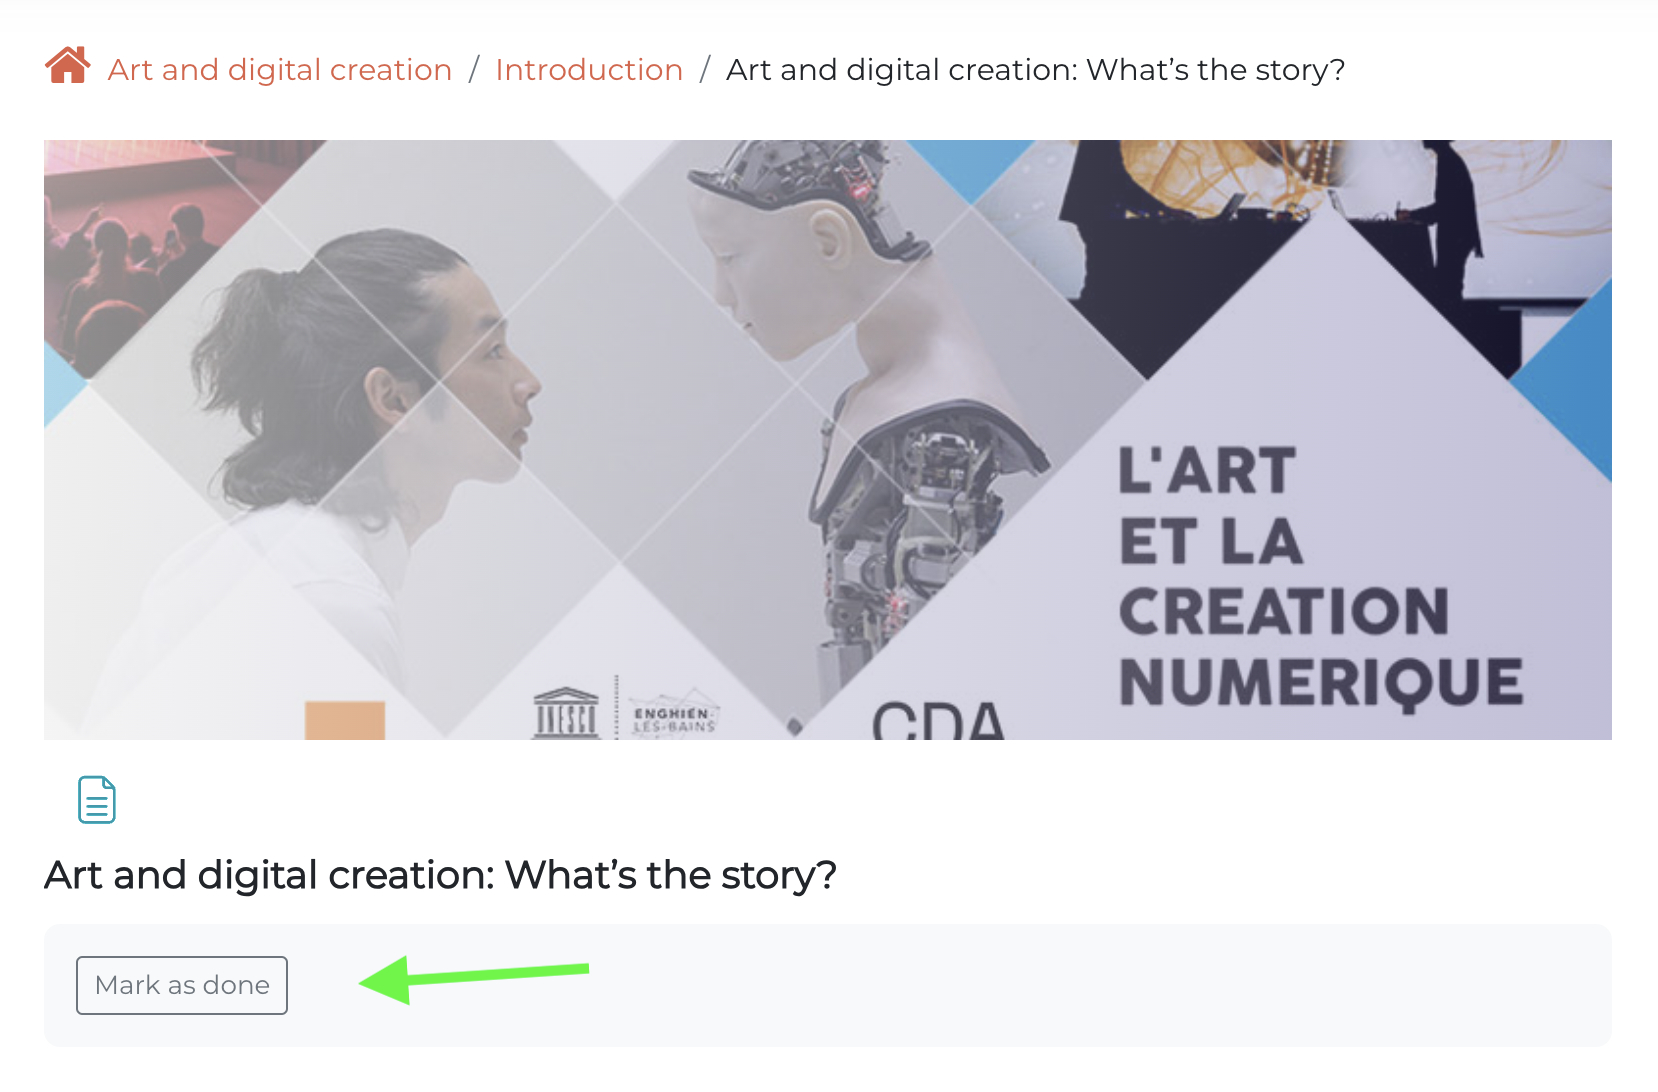
Teachers can add custom images at the top of course pages #
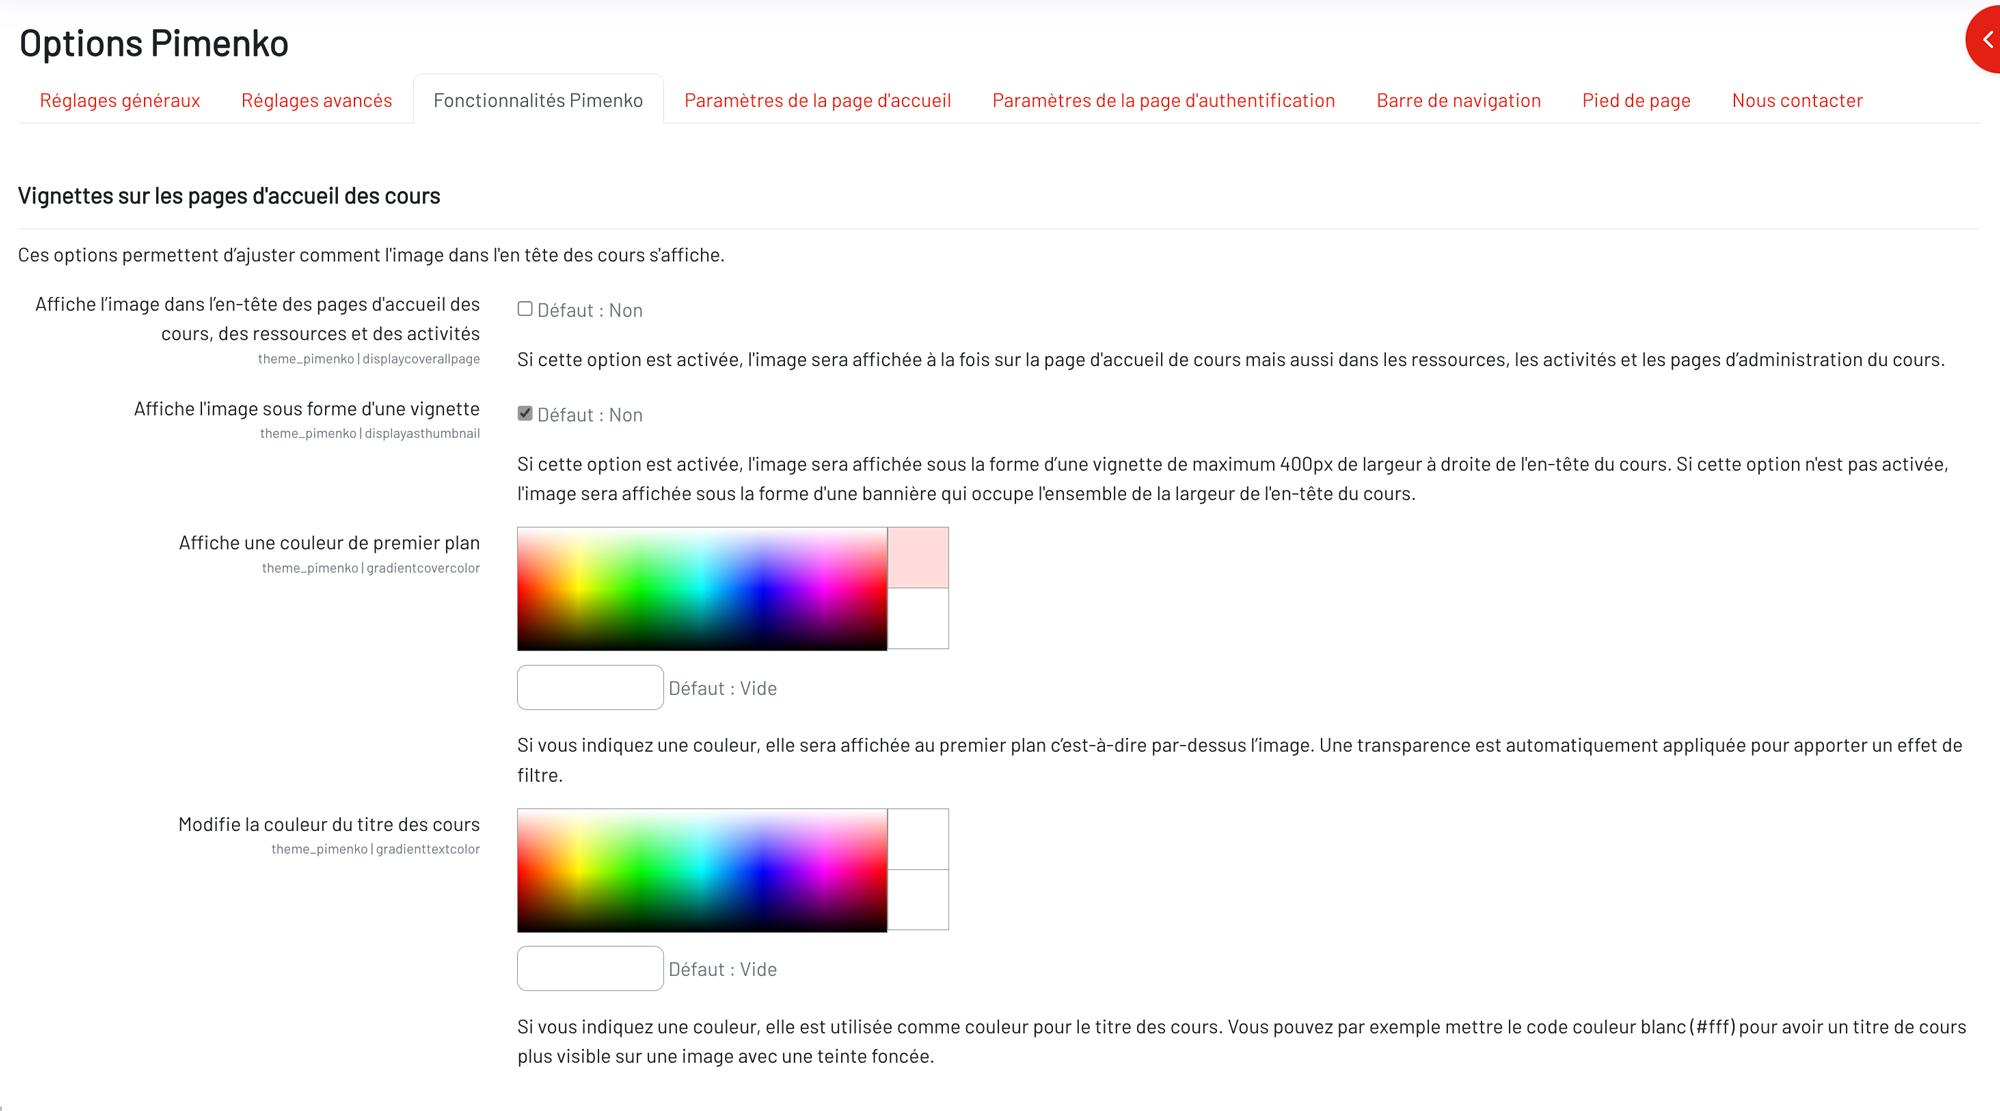
Enable the display of a customizable image on the course home page #
If you want teachers to be able to add an image of their choice directly at the top of course pages, use the available options. It is usually necessaryto adjust the background and text colors to achieve the desired result. Use the color options to achieve the rendering colors that work best for you.
Use consistent course images to create a professional, unified look in your catalog. It is often necessary to provide guidelines on the type of image and the color contrasts required to achieve a consistent and legible result.
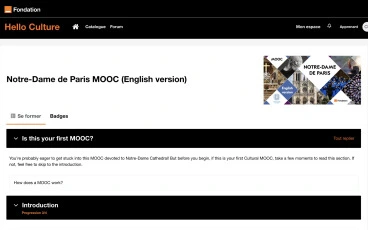
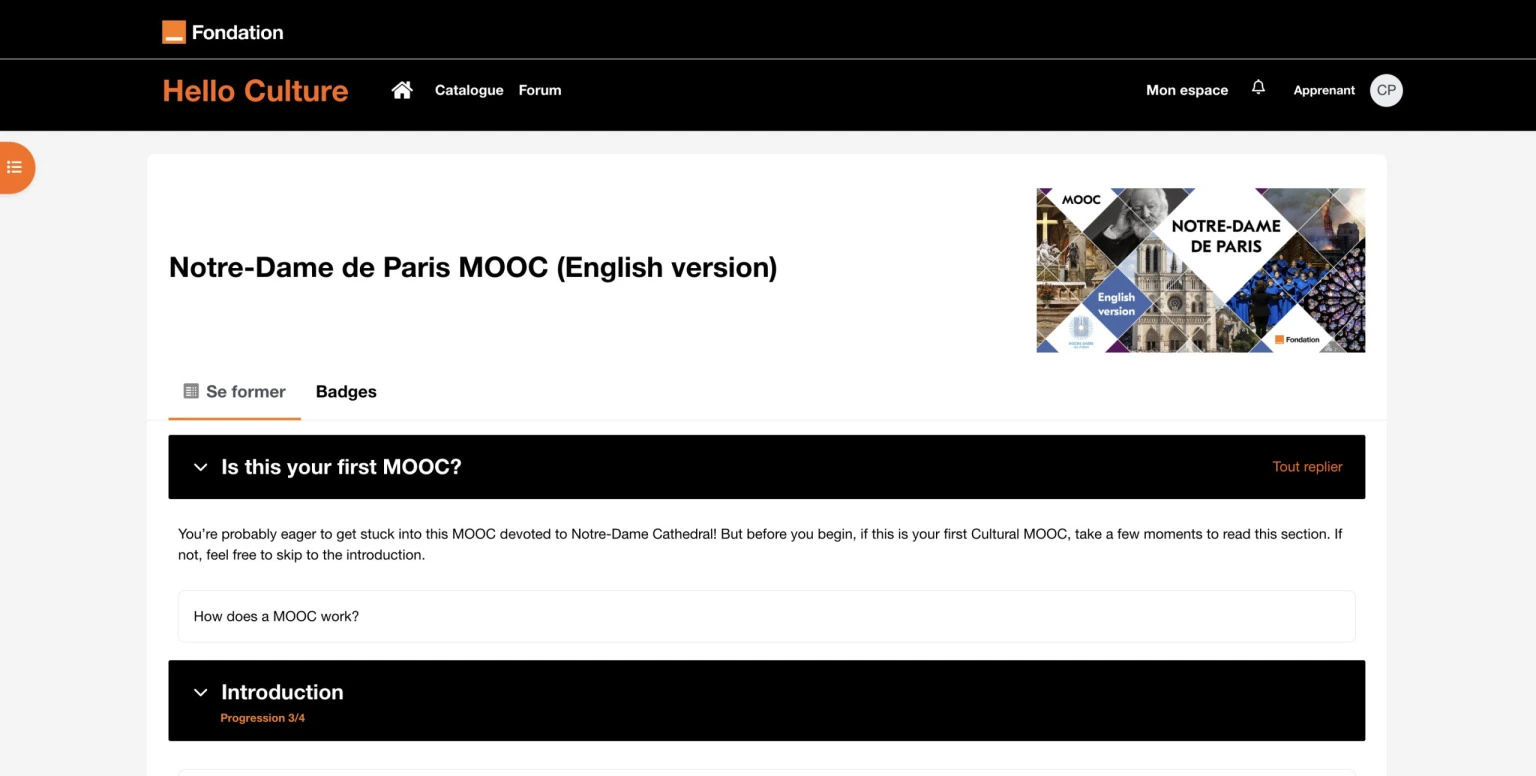
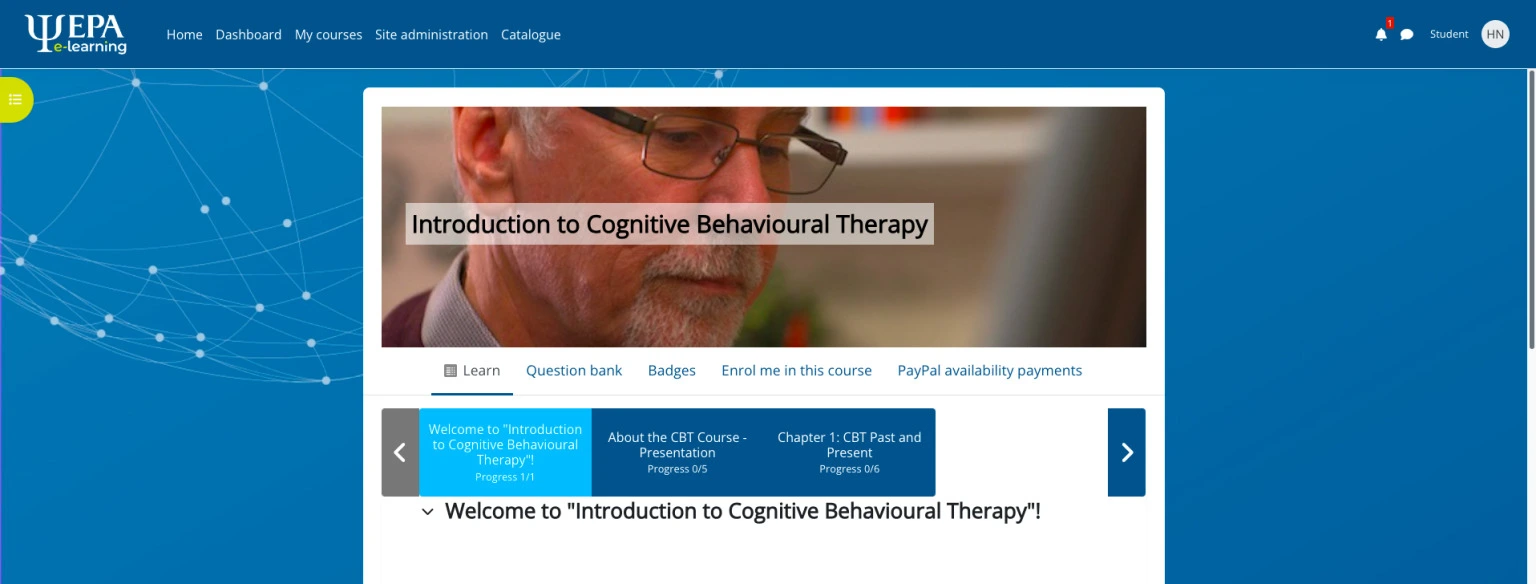
Examples of images added by teachers at the top of course pages:

Add a cover image to a course #
Select the ” Display image as a thumbnail ” option to enable this feature. The course image will appear as a rectangle in the upper-right corner of the course pages. Teachers will then need to:
- Go to the coursehomepage.
- Look for the “Course Cover Image” option in the upper-right corner of the page.
- Upload an image.
Display the image on every page of the course #
To specify whether the image is displayed on all course pages or only on the course home page:
- Go to the Pimenko theme settings and locate the option “Display the image in the header of course, resource, and activity home pages.”
- Enable the option.

Note: Make sure the image does not interfere with the readability of the course title.
Choose between a thumbnail and a banner #
Pimenko lets you choose the image display format:
- Find the option “Display the image as a thumbnail.”
- Choose from:
- An option to display images as a banner (a full-width image at the top of the page)

- An option to display images as rectangular thumbnails (smaller images, usually on the right)
The thumbnail format is ideal for a more compact layout, while the banner offers greater visual impact.
Apply a color filter to images #
To ensure visual consistency or to improve the readability of the text in the image:
- Look for the options “Display a foreground color” and “Change the course title color.”
- Adjustthe filter’s opacity and the title’s color to your liking.
Use a color filter that is lightly tinted with your brand’s primary color to reinforce your visual identity.
Display the course title on the image #
To help identify the course more easily:
- Enable the “Show title on course image” option.
- Customize the title’s appearance:
- Font and Size
- Color
- Position in the image
Important: Make sure the title remains legible on the image you choose, regardless of the device used.
Changes to the behavior of several standard Moodle features via the “Pimenko Features” tab #
The Pimenko theme allows you to customize certain standard Moodle behaviors to better meet your educational needs or specific requirements. Here’s how to use these features to tailor the learning experience.

Manage the display of task completion #
By default, the Pimenko theme does not use Moodle’s display, which shows the activity completion status as a label at the top of activities and resources in courses.
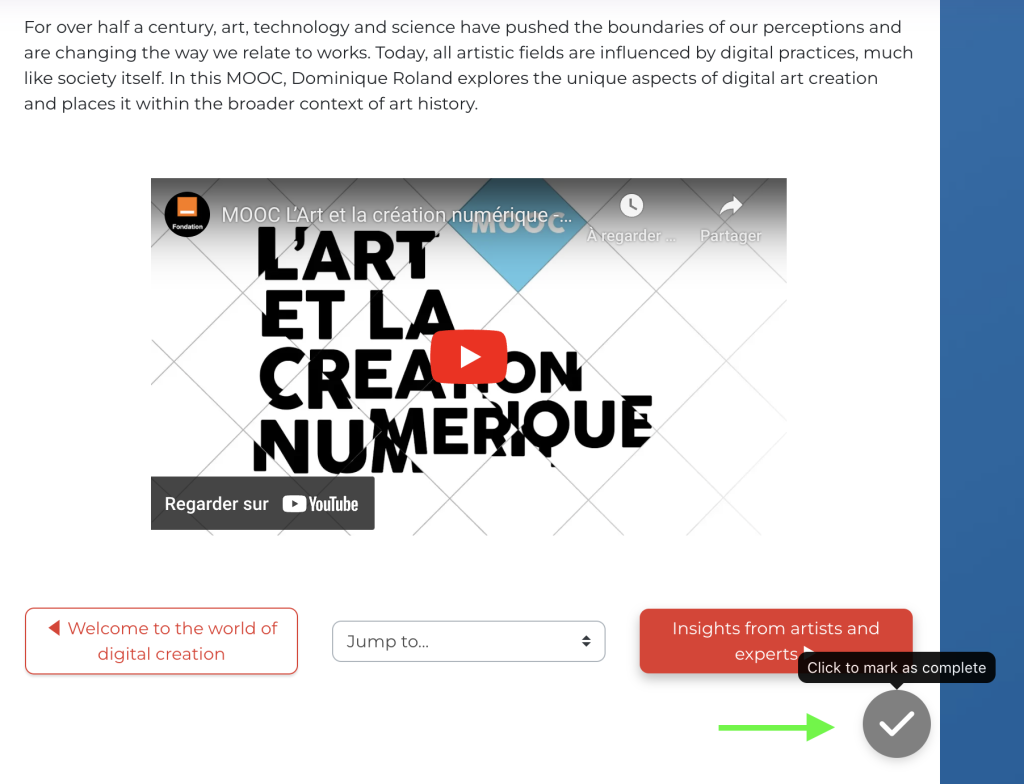
If you want to return to the classic view:
- Look for the option “Enable Moodle activity completion at the top of the Resources and Activities page.”
- Enable this option to revert to Moodle’sclassic activity completion display at the top of resources and activities.
Use this option if you want to go back or if you’re using other methods to track your progress.
Add Previous/Next navigation buttons #
To display “Previous” and “Next” navigation buttons at the bottom of activity and resource pages in courses:
- Find the “Enable navigation features” option in each activity and resource.
- Enable this feature.
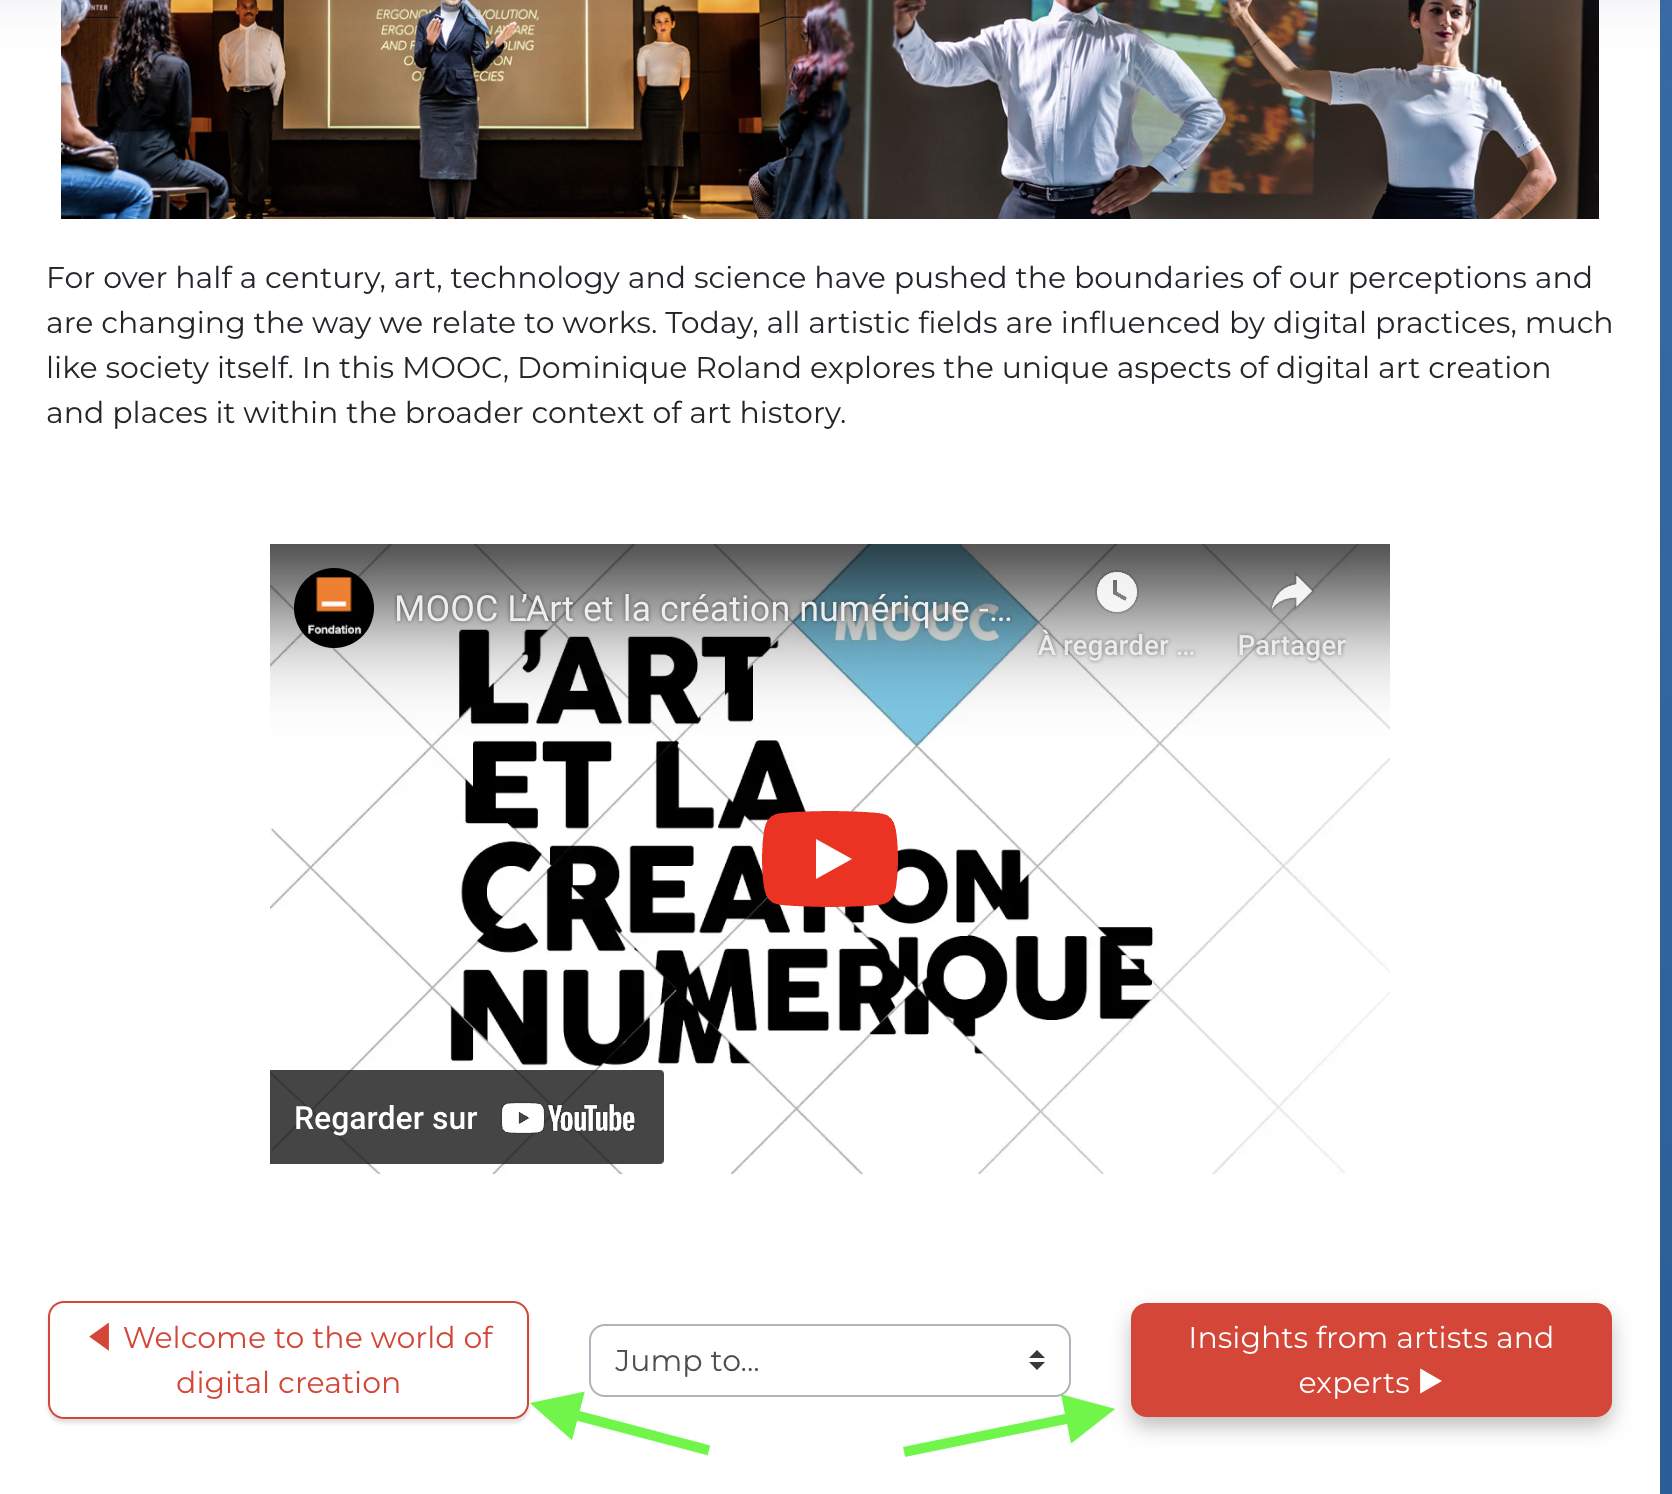
Navigation buttons will appear at the bottom of each activity or resource page.
This feature is particularly useful for courses with a linear progression or for learners who are taking the course in a specific order.
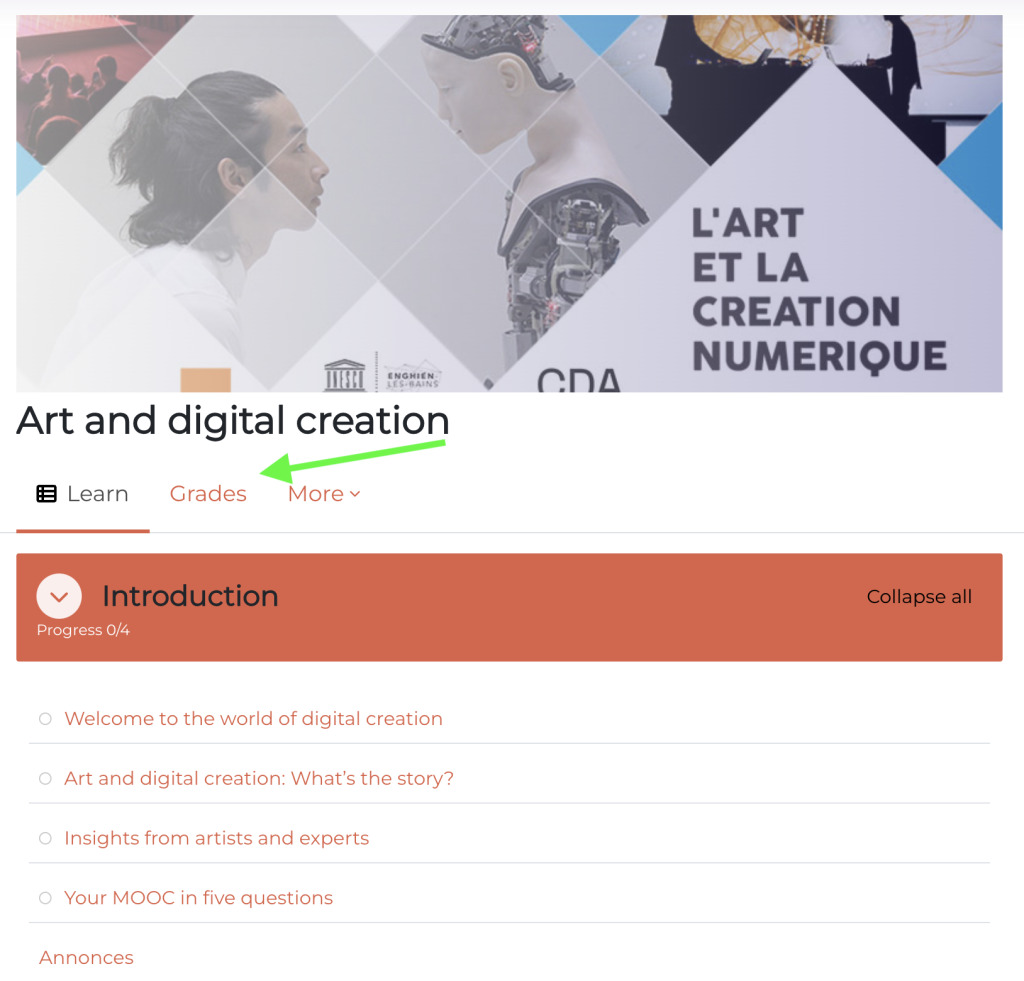
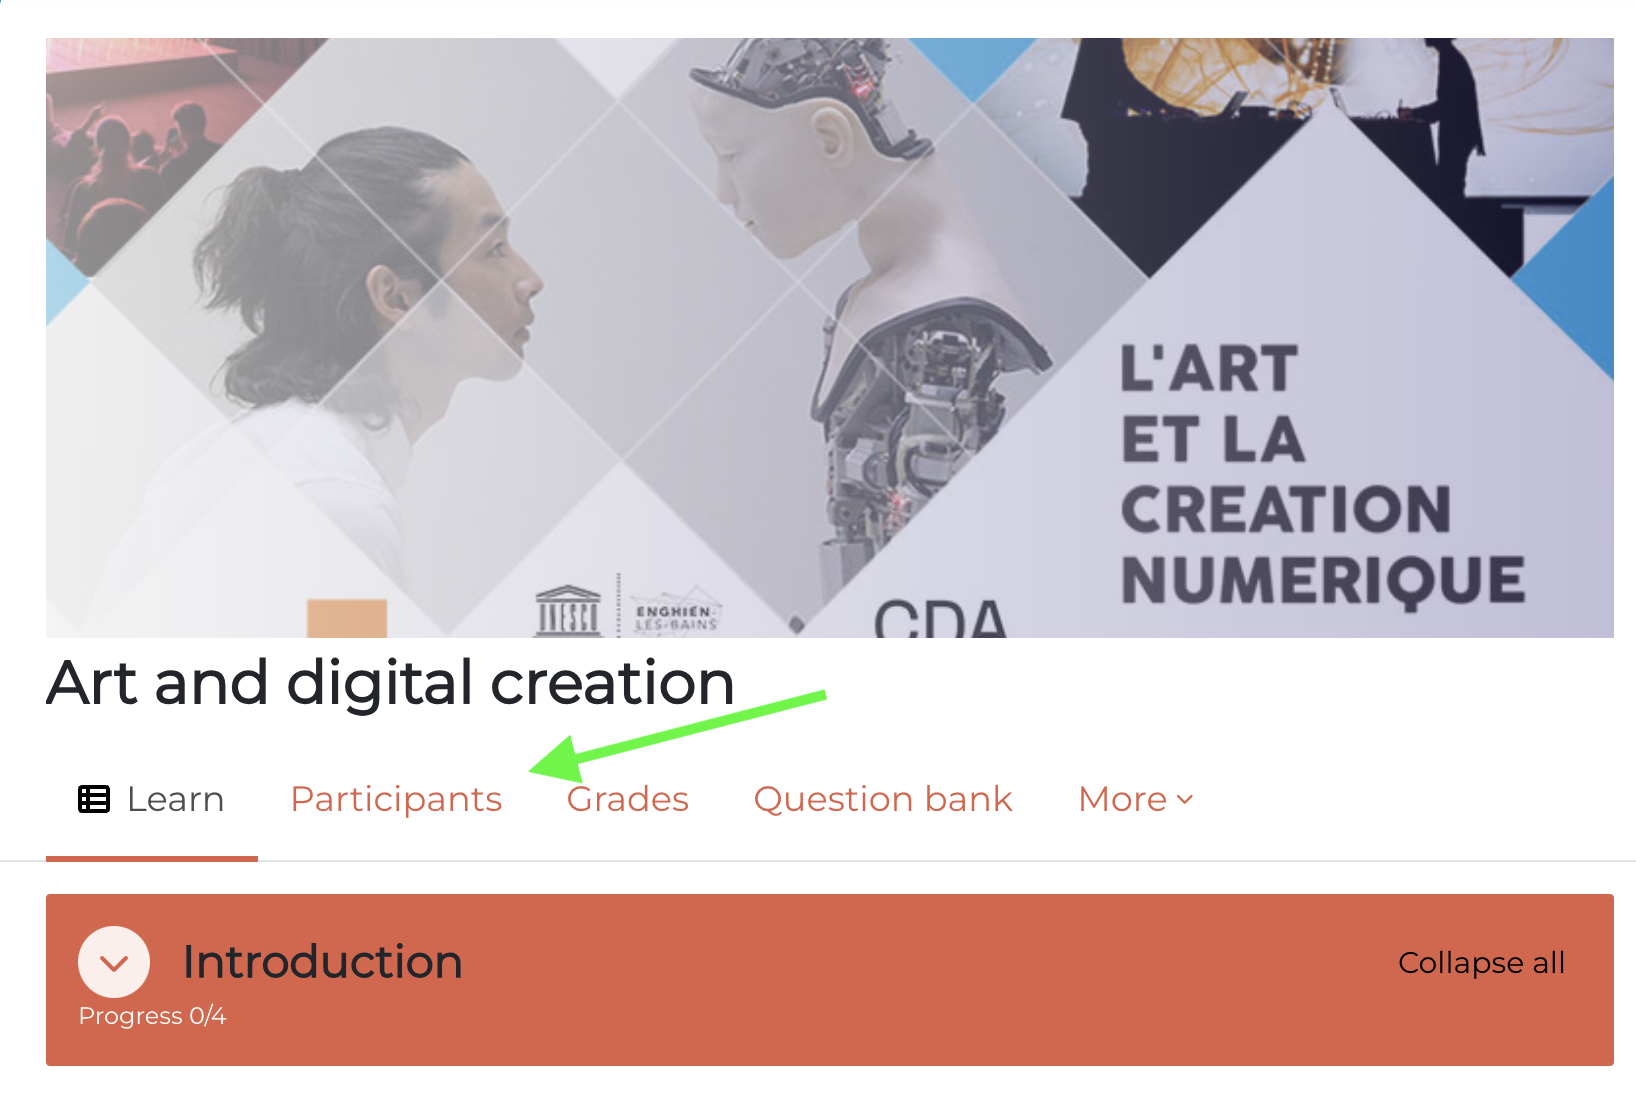
Control the visibility of the “Participants” section #
The Pimenko theme lets you control who can view the list of participants in a course. If you enable this option, you will be able to choose which roles will have access to this page.
- Look for the option “List of roles that can see the ‘Participant’ link“
- Select this option to enable the feature that will allow you to specify which roles will be able to view the page.
- Use the menu to select, from the available options, the roles that will be able to view this page:
- Visible to everyone by selecting all roles
- Visible only to teachers when selecting only the “teacher” role
- Visible to specific roles, which you can select as you see fit
Important: Consider the implications for privacy and group dynamics before changing this setting. Making the list of participants visible can promote collaboration among learners, but it may also be irrelevant for certain types of courses.
By using these options to customize Moodle’s behavior, you can create a more seamless learning experience tailored to your instructional goals. Feel free to experiment with these settings to find the configuration that works best for your classes and your students.
Create a fully customized website homepage from the “Homepage Settings” tab #
The site’s home page is often users’ first point of contact with your Moodle platform. The Pimenko theme offers you many options to make it attractive and functional. Here’s how to get the most out of these features.
Create an engaging photo slideshow #
To add visual impact to your home page:
- Find the “Enable Slideshow” option in the settings.
- Enable this feature.
- Set the number of images you want to display (up to 11).
- For each image in the slideshow, you can:
- Upload a high-quality image (recommended aspect ratio: 16:9)
- Add text ( optional)
- You can use your site’s custom CSS style to refine the design.
Use the carousel to highlight news, events, featured courses, or key information you want to showcase on your site.
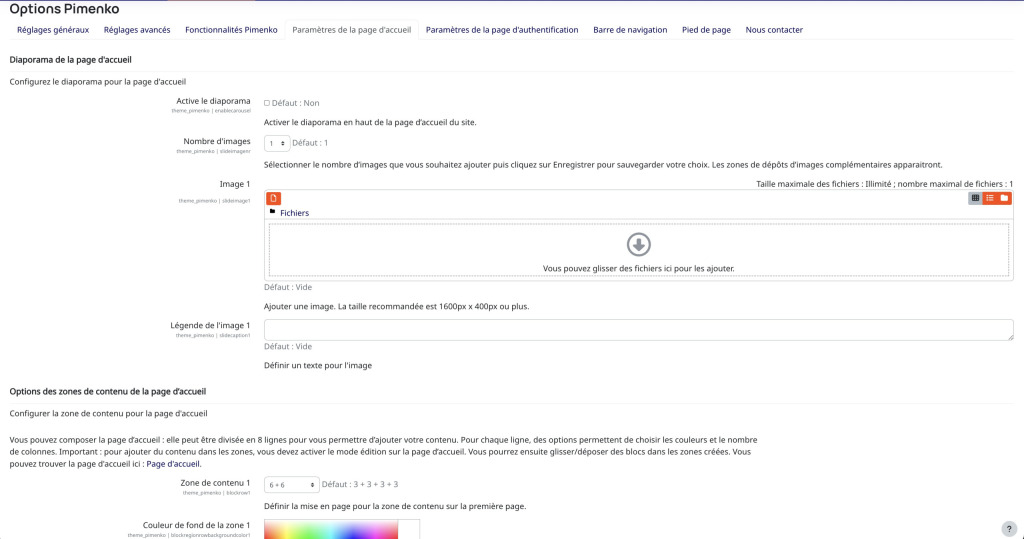
Creating a Flexible Home Page #
Pimenko lets you create a custom layout for your home page:
- Find the settings under “Home Page Content Area Options.”
- Select the number of rows you want (up to 8) from the “Content Area” drop-down menu.
- For each line, specify:
- The number of columns based on the Bootstrap grid, which divides pages into 12 columns.
- Background and Text Colors

Use a combination of different column widths to create a dynamic layout. For example, a layout with one wide column (6) in the center and two narrow columns (3) on the left and right can be visually appealing for containing a content area and managing margins.
Once you’ve defined your structure, add content:
- Enable “edit mode” on the home page.
- Use the “Add a Block” feature to insert different types of content:
- HTML text blocks for custom content
- Images and Media
- Links to Important Resources
- Standard Moodle blocks (calendar, users online, etc.)
- Drag and drop the blocks into the areas you’ve created.
Warning: Be careful not to overload your home page. A clean, well-organized design will be more effective.
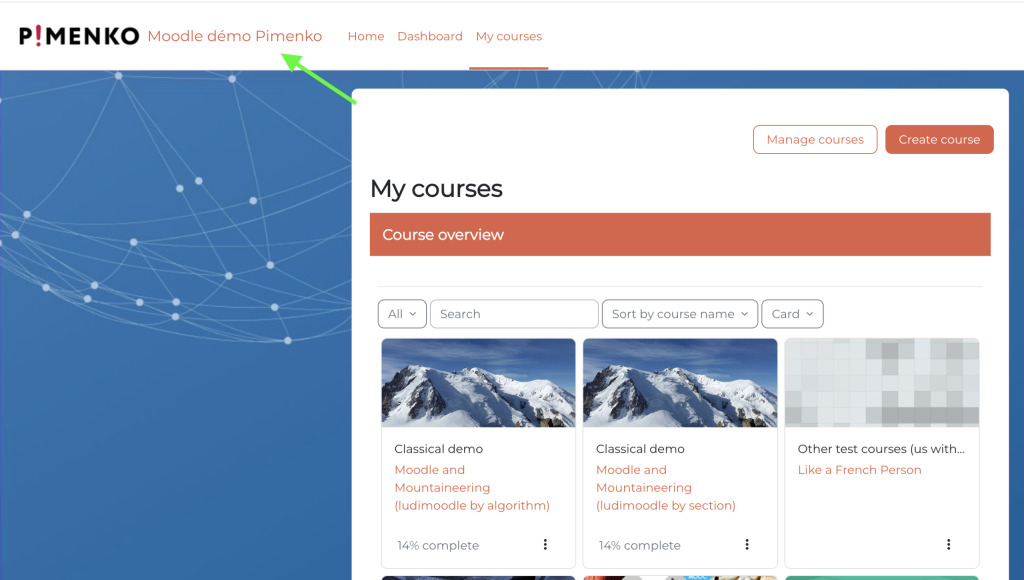
Customize course thumbnails on the site’s home page #
If you want to changehow course thumbnails are displayed on the site’s home page, use the options in the “Options for displaying course thumbnails on the home page” section.
- Access the settings for this section
- Select the information you want to display:
- Names of users with the “teacher” role in courses
- Course Start Date
- Custom Fields
Displaying the instructor’s name can help build the teaching team’s reputation, while the start date helps learners plan their learning journey.
By using these homepage customization features, you can make a strong first impression and provide essential information to your users as soon as they arrive on the platform. Feel free to experiment with different configurations to find the one that best suits your goals and your institution’s identity.
Improving the login page from the “Login Page Settings” tab #
The login page is often one of the first points of contact users have with your Moodle platform. The Pimenko theme offers options to customize this page, making it more appealing and adapting it to your context. Here’s how to get the most out of these features.
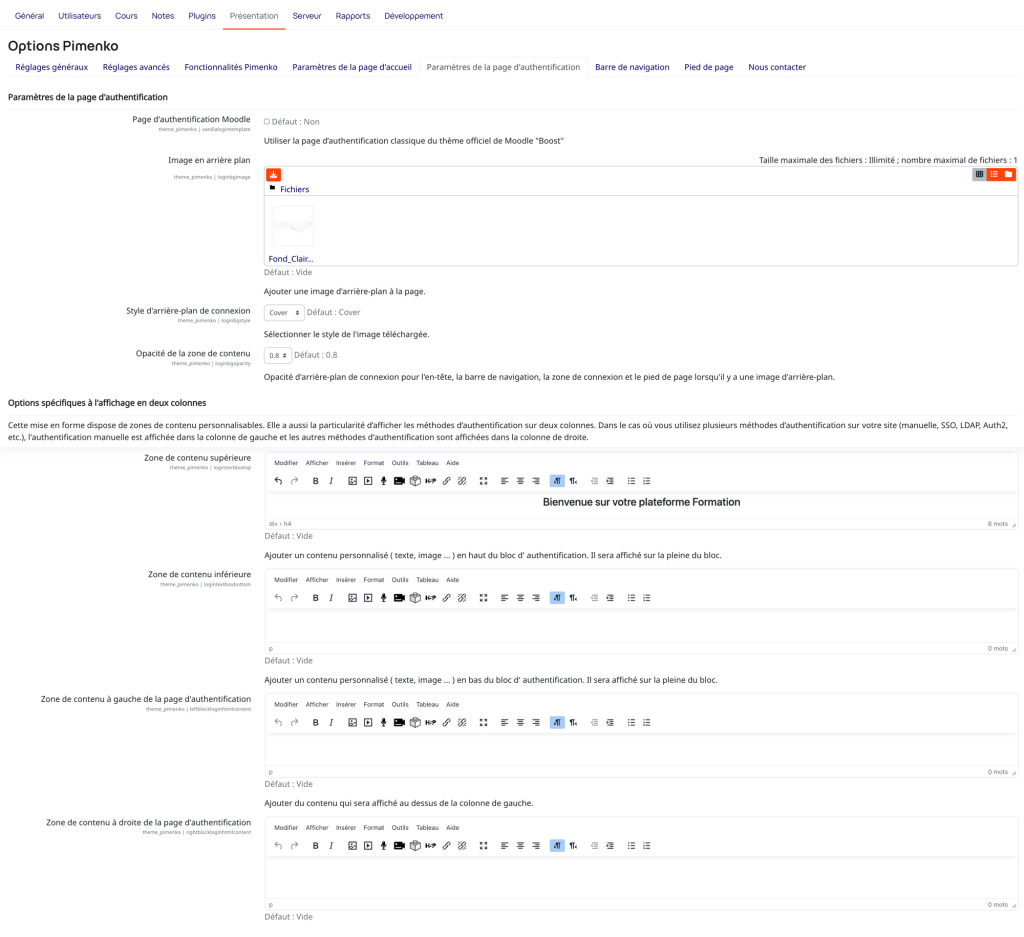
Customize the login page’s style #
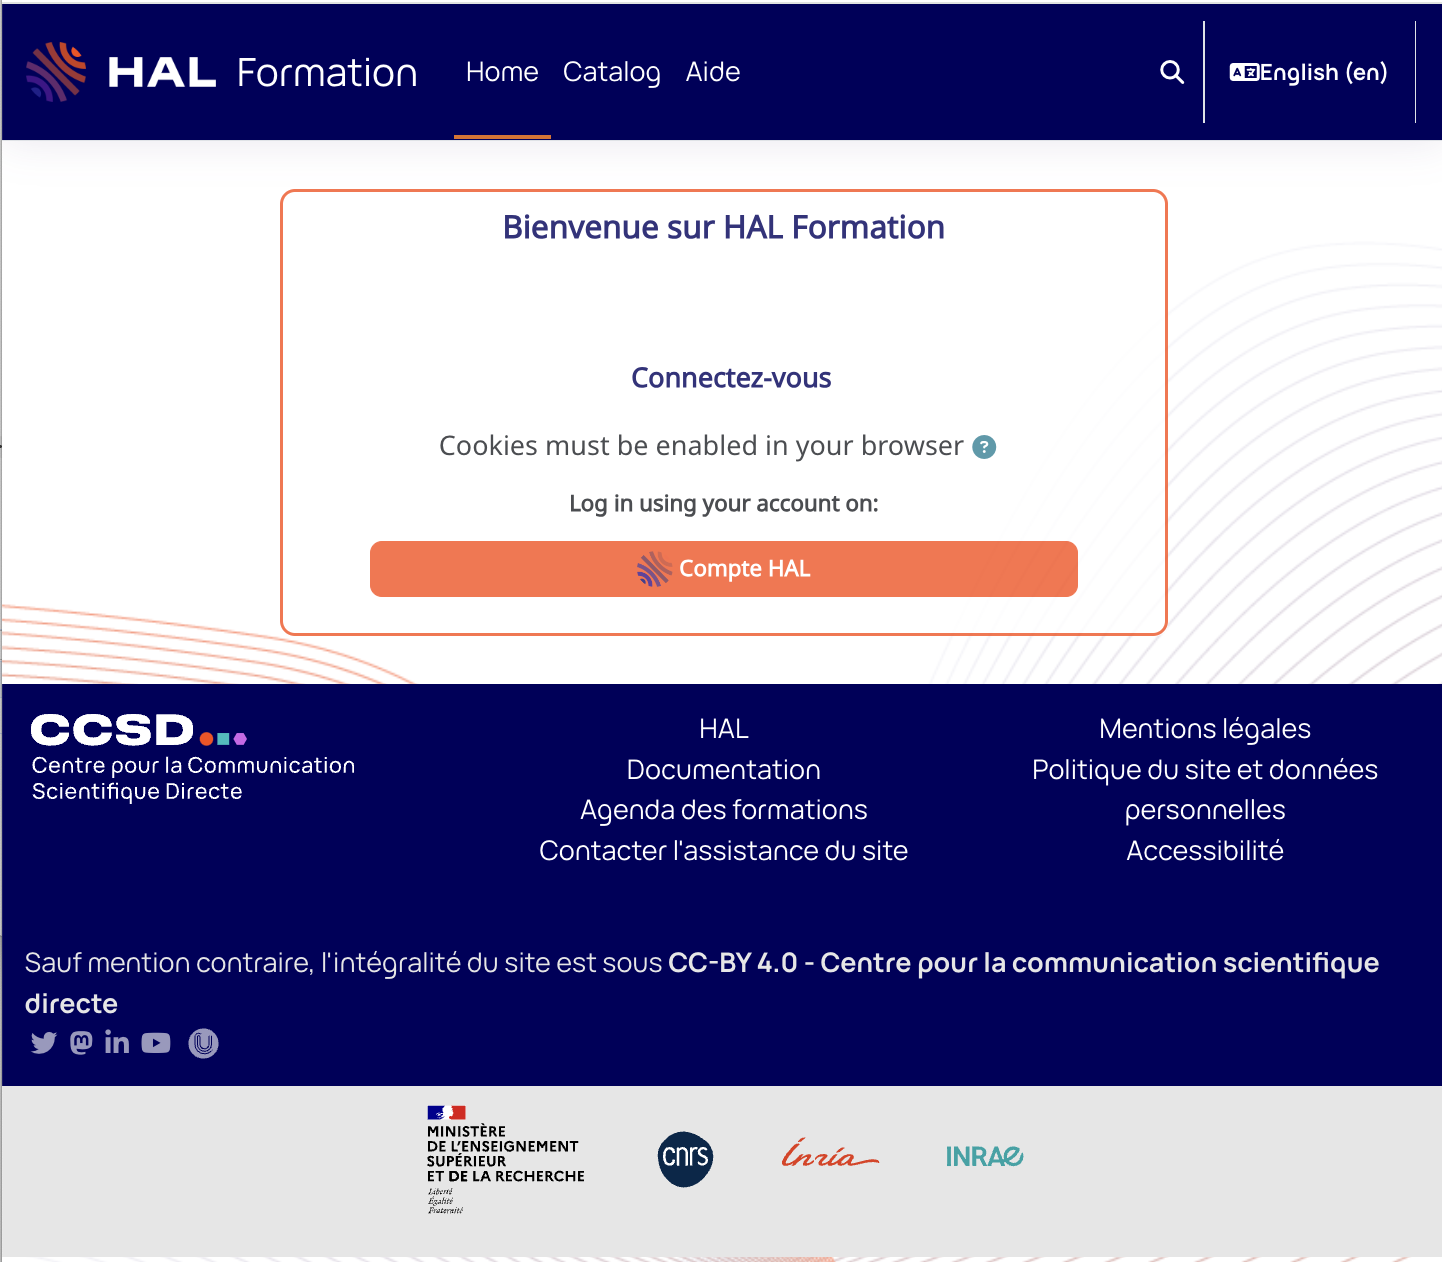
Use this section to choose whether to use Moodle’s default design for the login page or the designs offered by Pimenko.
- Find the “Moodle Login Page” option
- If you leave this option unchecked, the Pimenko design will be used
- If you check this option, the official Boost theme design will be used
Examples of Pimenko authentications:

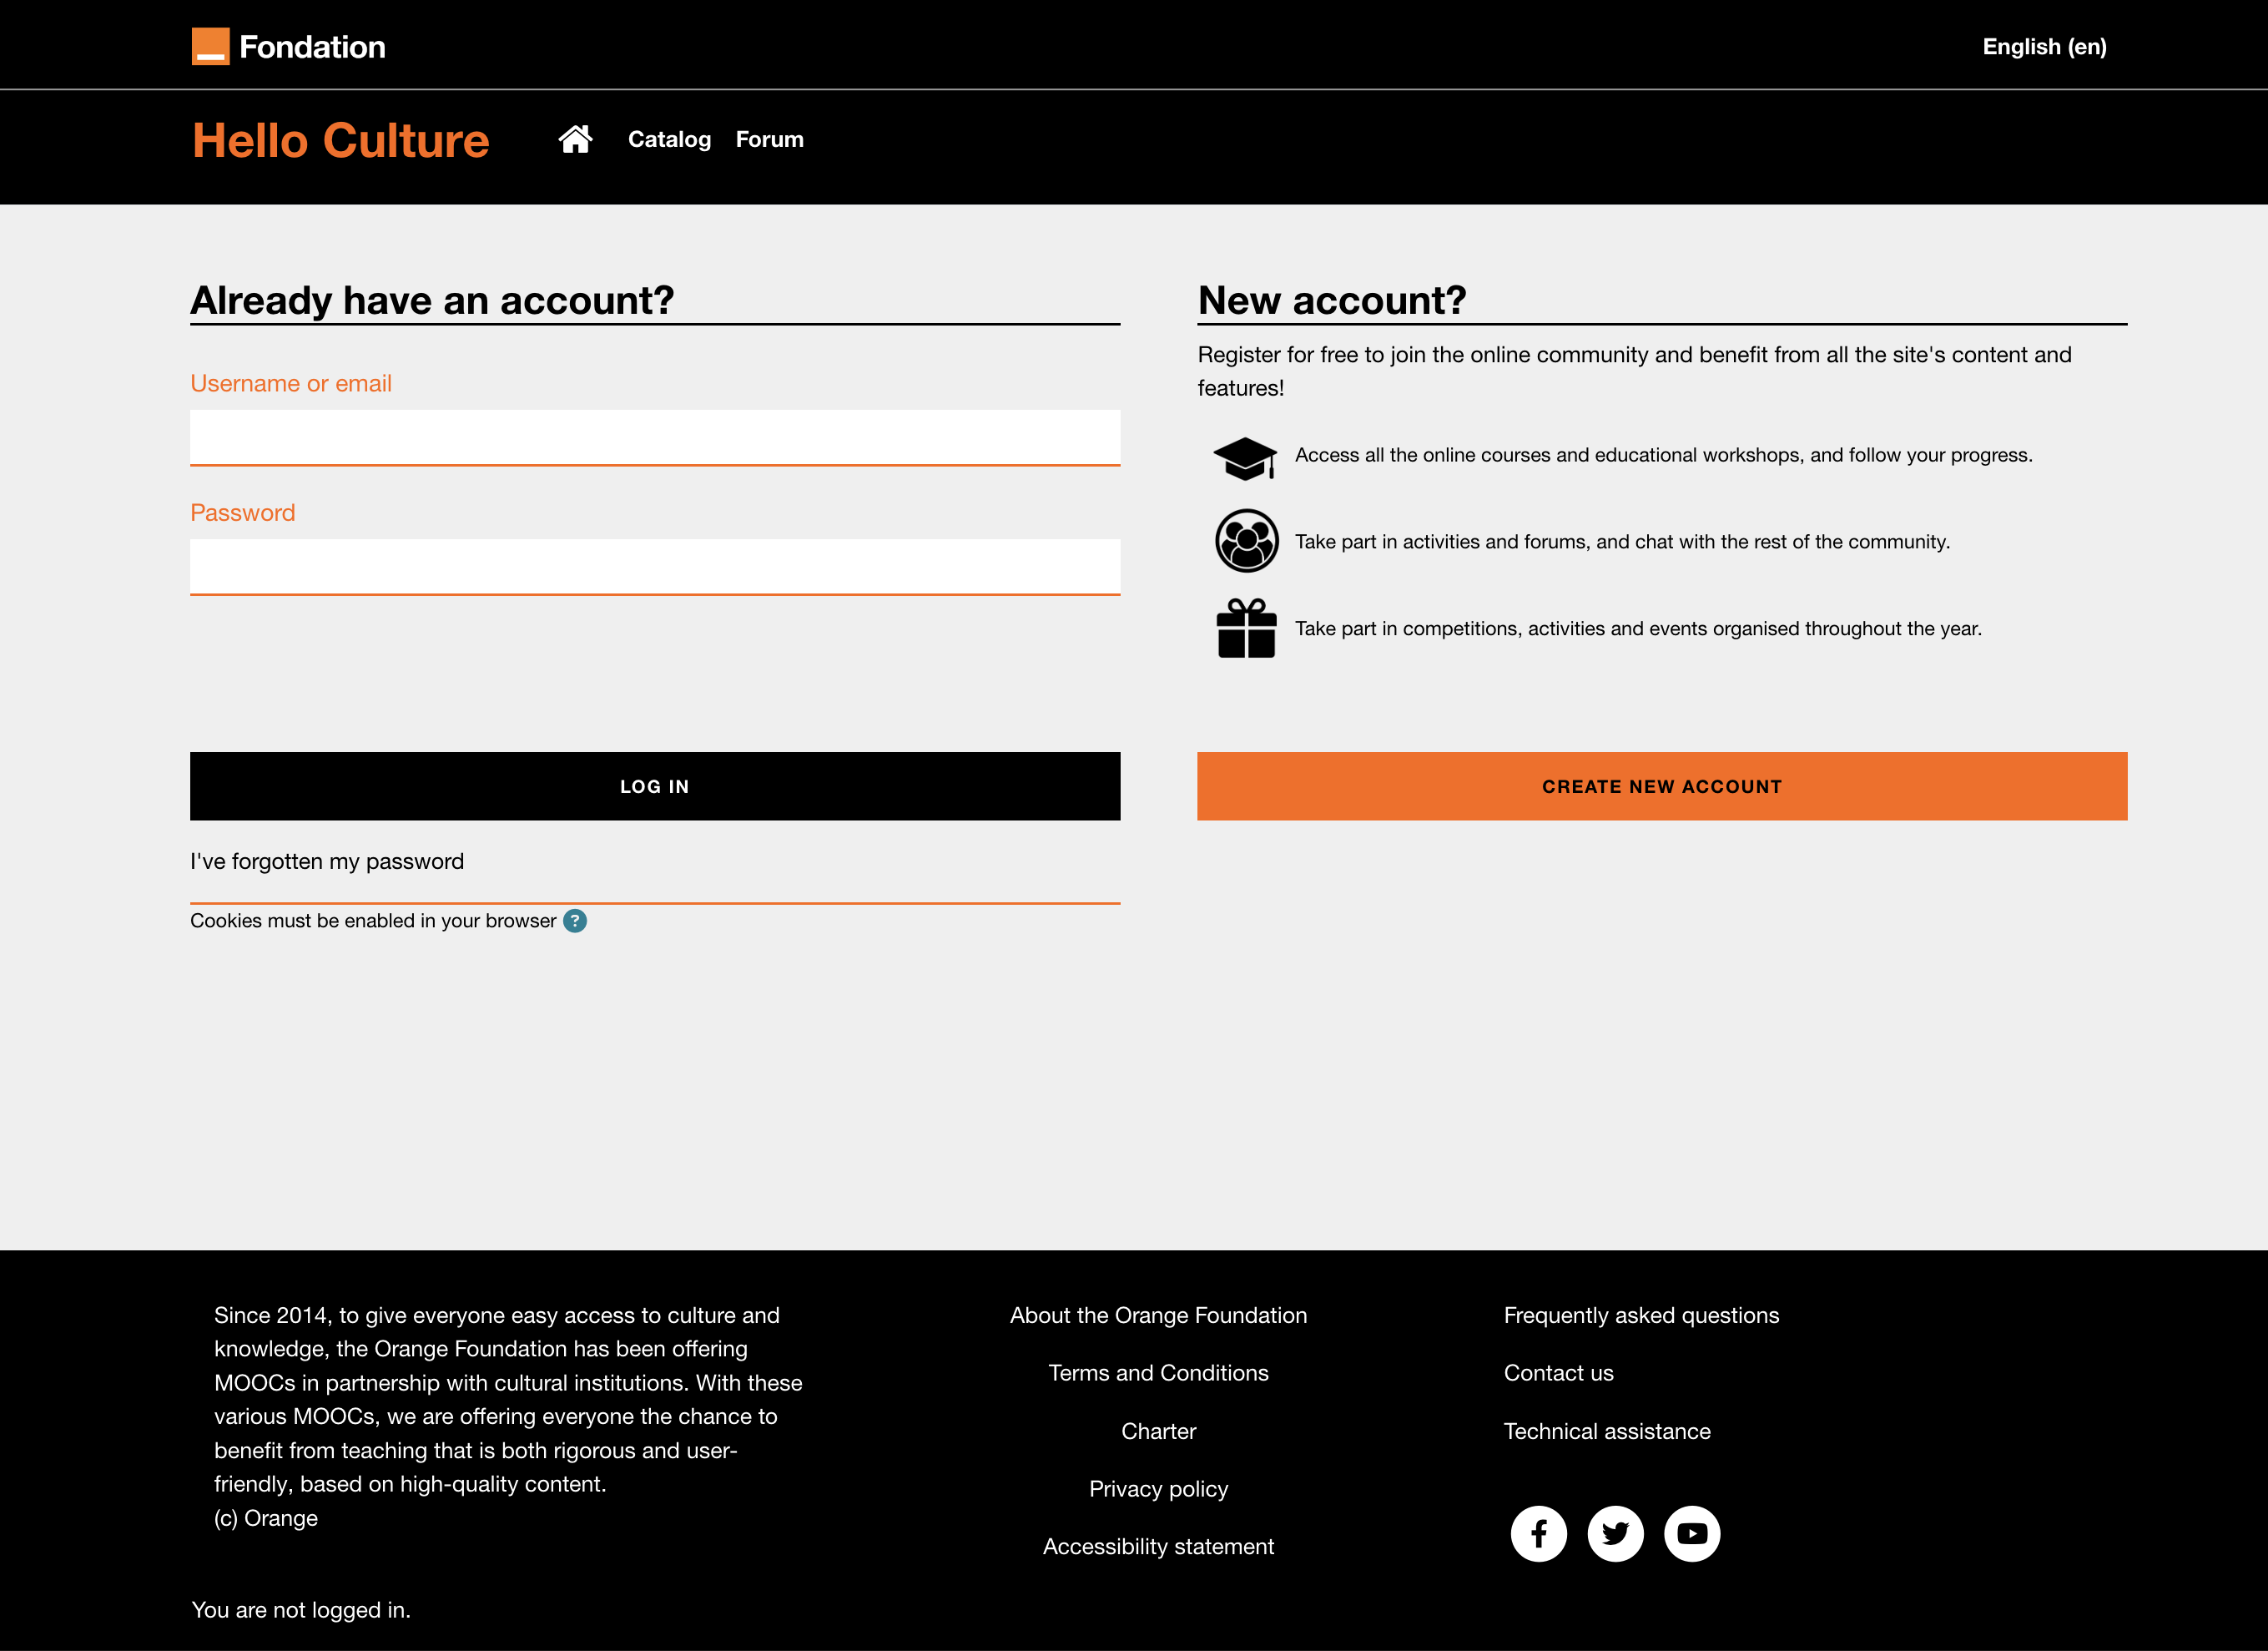
The Pimenko custom style generally offers more customization options.
Add a background image #
To give your login page a strong visual identity:
- Find the “Background Image” option.
- Upload a high-quality image .

Set up a two-column layout #
For a more elaborate layout, customize each column:
- Left column : usually for the login form
- Right column : for additional information or useful links (important announcements, links to help and support, etc.)
Keep the content concise and relevant so as not to overload the login page.
Manage the Manual Authentication Display #
You can simplify the login interface and hide the default manual authentication in Moodle. This allows you to present users with one and only one authentication method and reduce confusion when, for example, all your users use a CAS-type authentication method.
- Find the “Hide manual authentication” option.
- Enable this option if you primarily use other authentication methods (SSO, LDAP, etc.).
Important: Make sure you always have a way to access the platform as an administrator by saving the URL. It takes the form: https://maplateformelms.com/login/index.php?adminpage=true
Customizing the Site Header from the “Navigation Bar” #
The Pimenko theme offers numerous options forcustomizing the header and navigation of your Moodlesite, providing an enhanced user experience and greater visual consistency. Here’s how to get the most out of these features.
Add a custom logo #
To strengthen your platform’s visual identity:
- Access the Pimenko theme settings.
- Upload your logo to the “Site Logo” field. The recommended format is a PNG image with a transparent background.
Use a logo that is about 50px tall to ensure a good balance in the navigation bar. If your logo has a specific height, consider adjusting the site’s CSS style accordingly.
Hide the site name in the navigation bar #
If you prefer to use only your logo:
- Find the “Hide site name” option.
- Select this option to hide the site name from the header.
Customize the header colors #
To match the header to your brand guidelines and logo, use the color options (making sure to maintain good contrast between the text and the background for optimal readability):
- The color of the navigation bar
- The text color for the navigation bar
- The color for the links in the navigation bar
- Choose complementary colors that match your logo and overall visual identity.
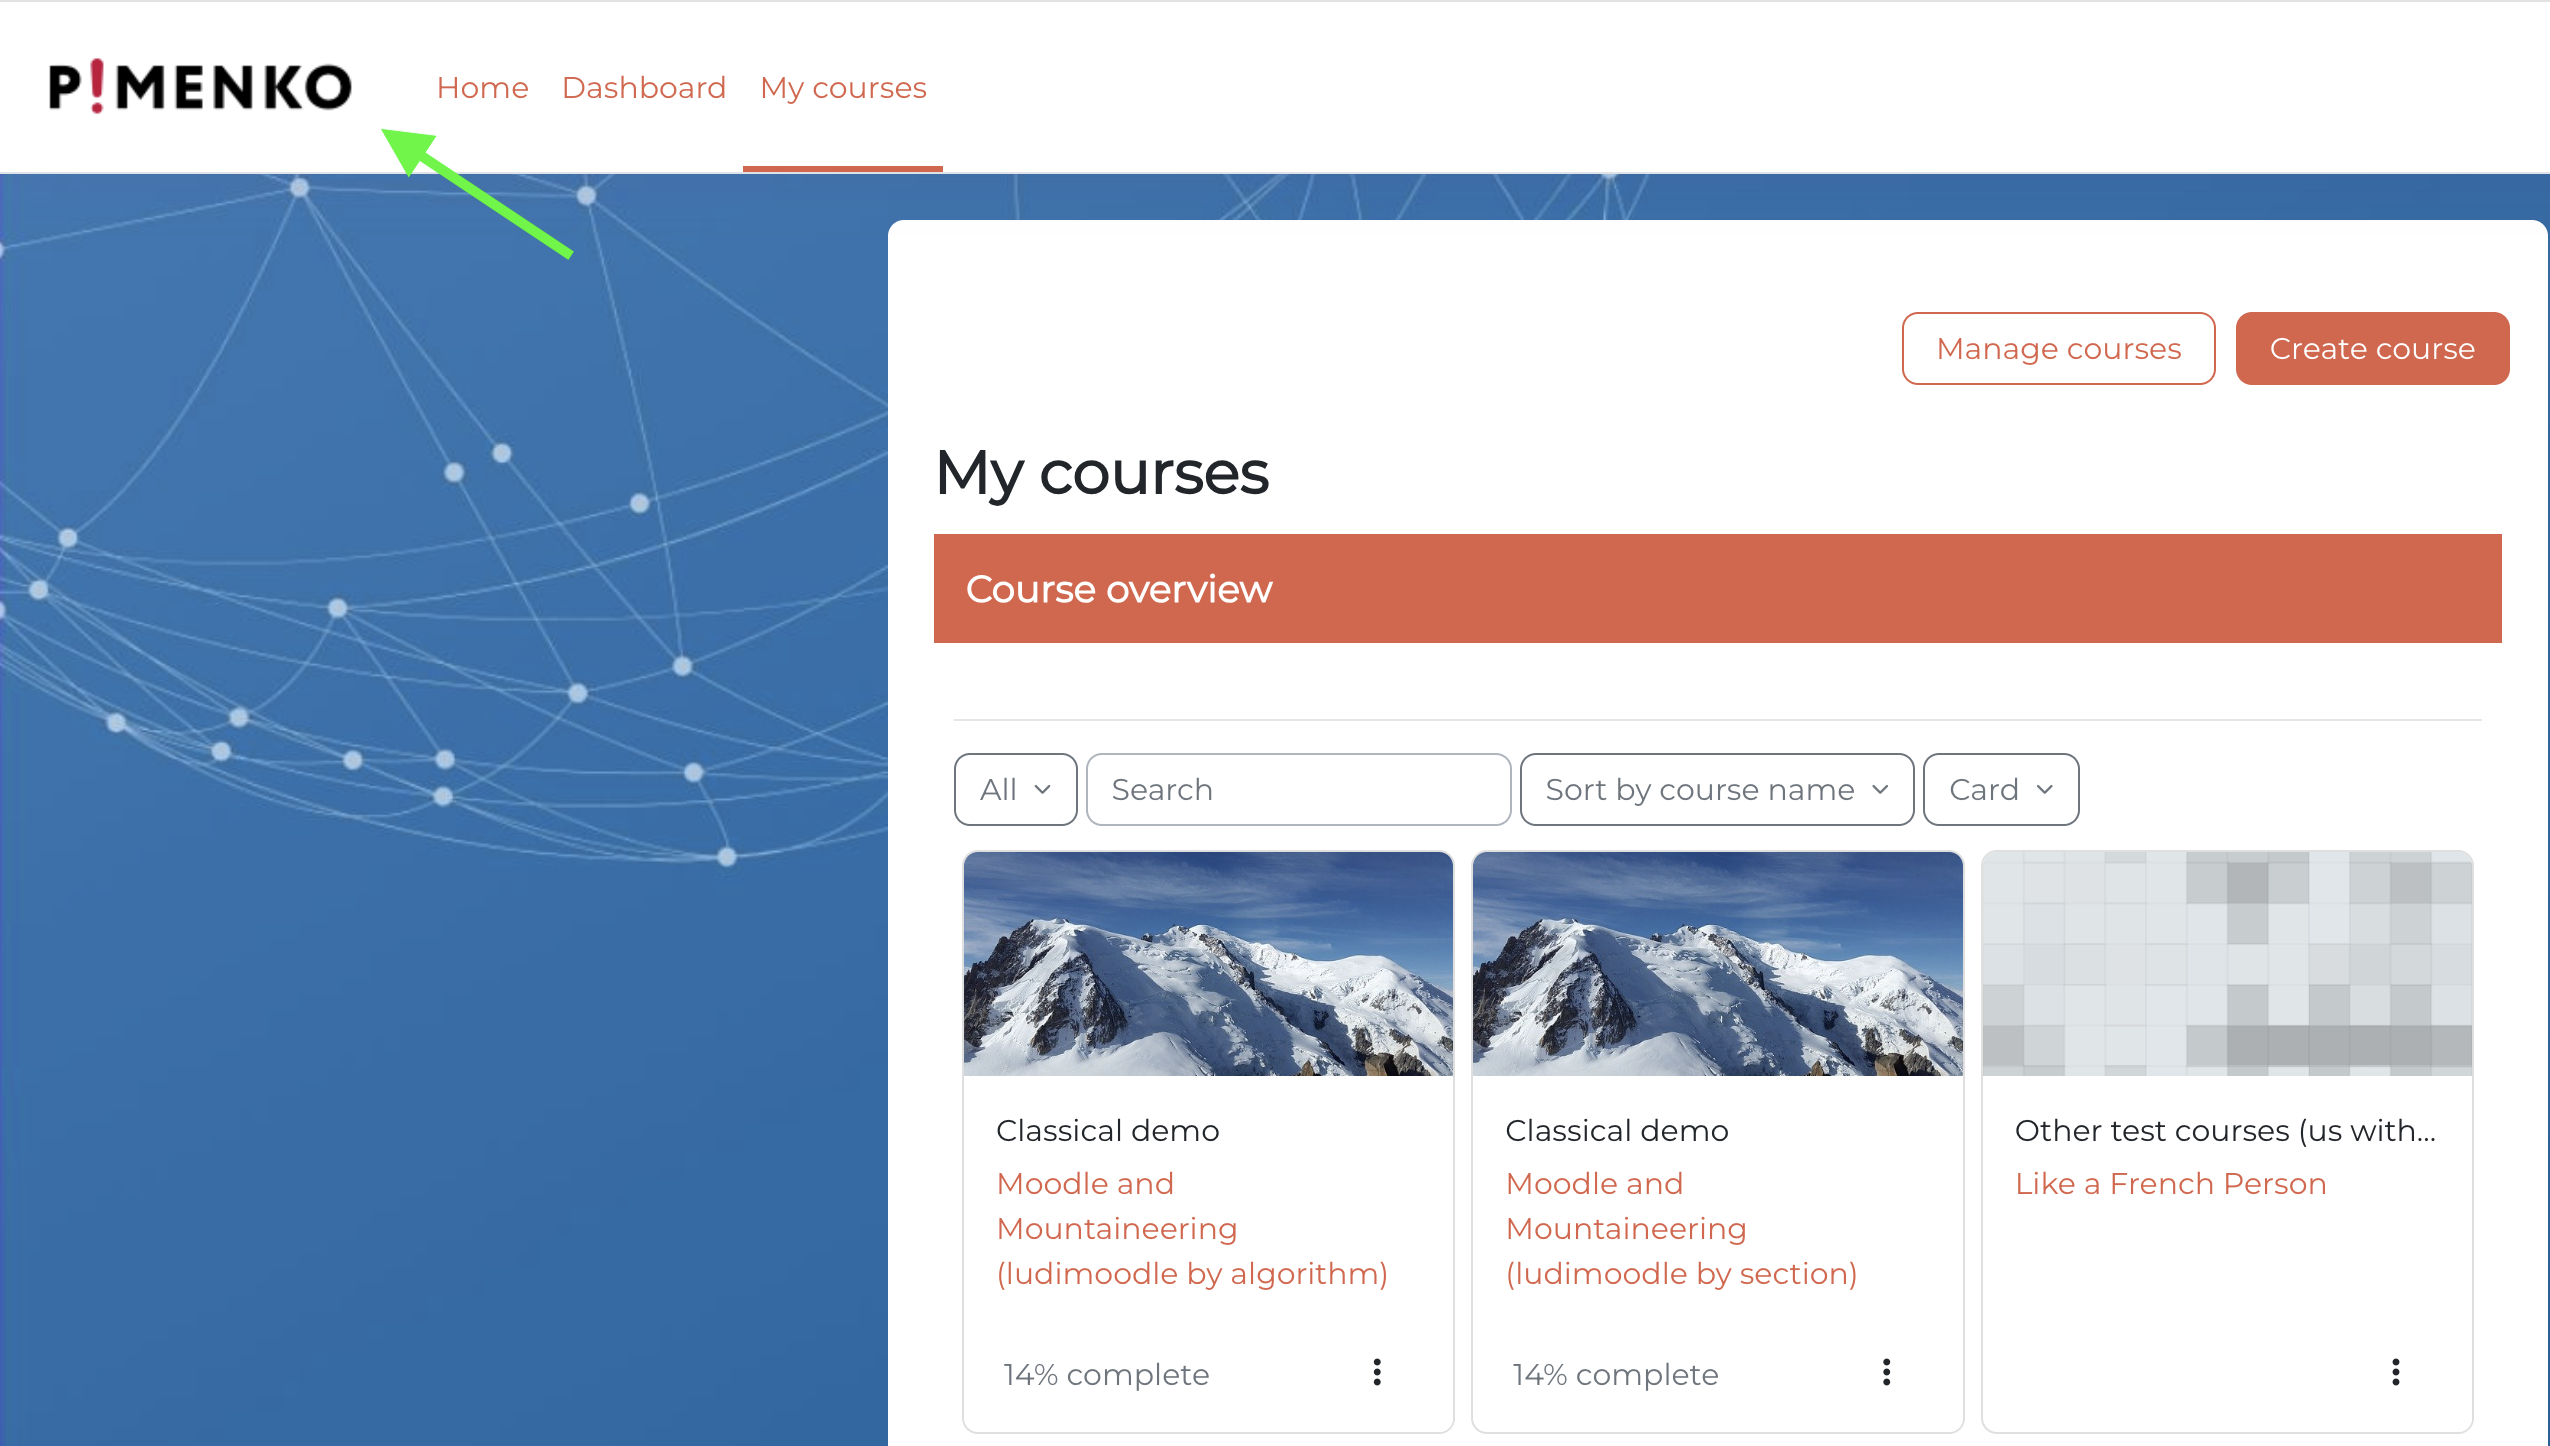
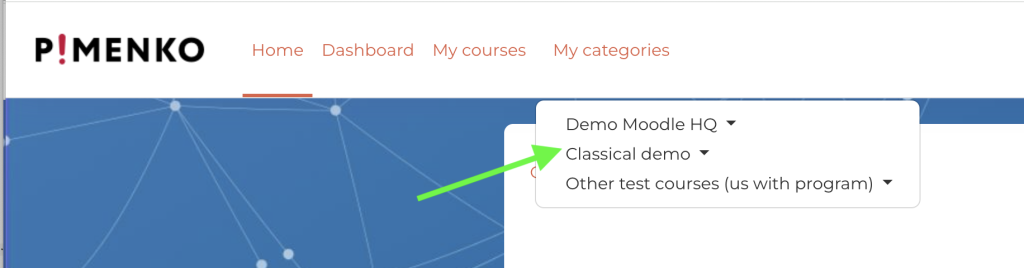
Configure the “My Categories” drop-down menu #
To display a menu with all course categories:
- Look for the “My Categories” option in the navigation settings.
- Choose between “Include hidden categories” or “Exclude hidden categories” to customize your menu’s content.
Hiding certain categories can make navigation easier for regular users.
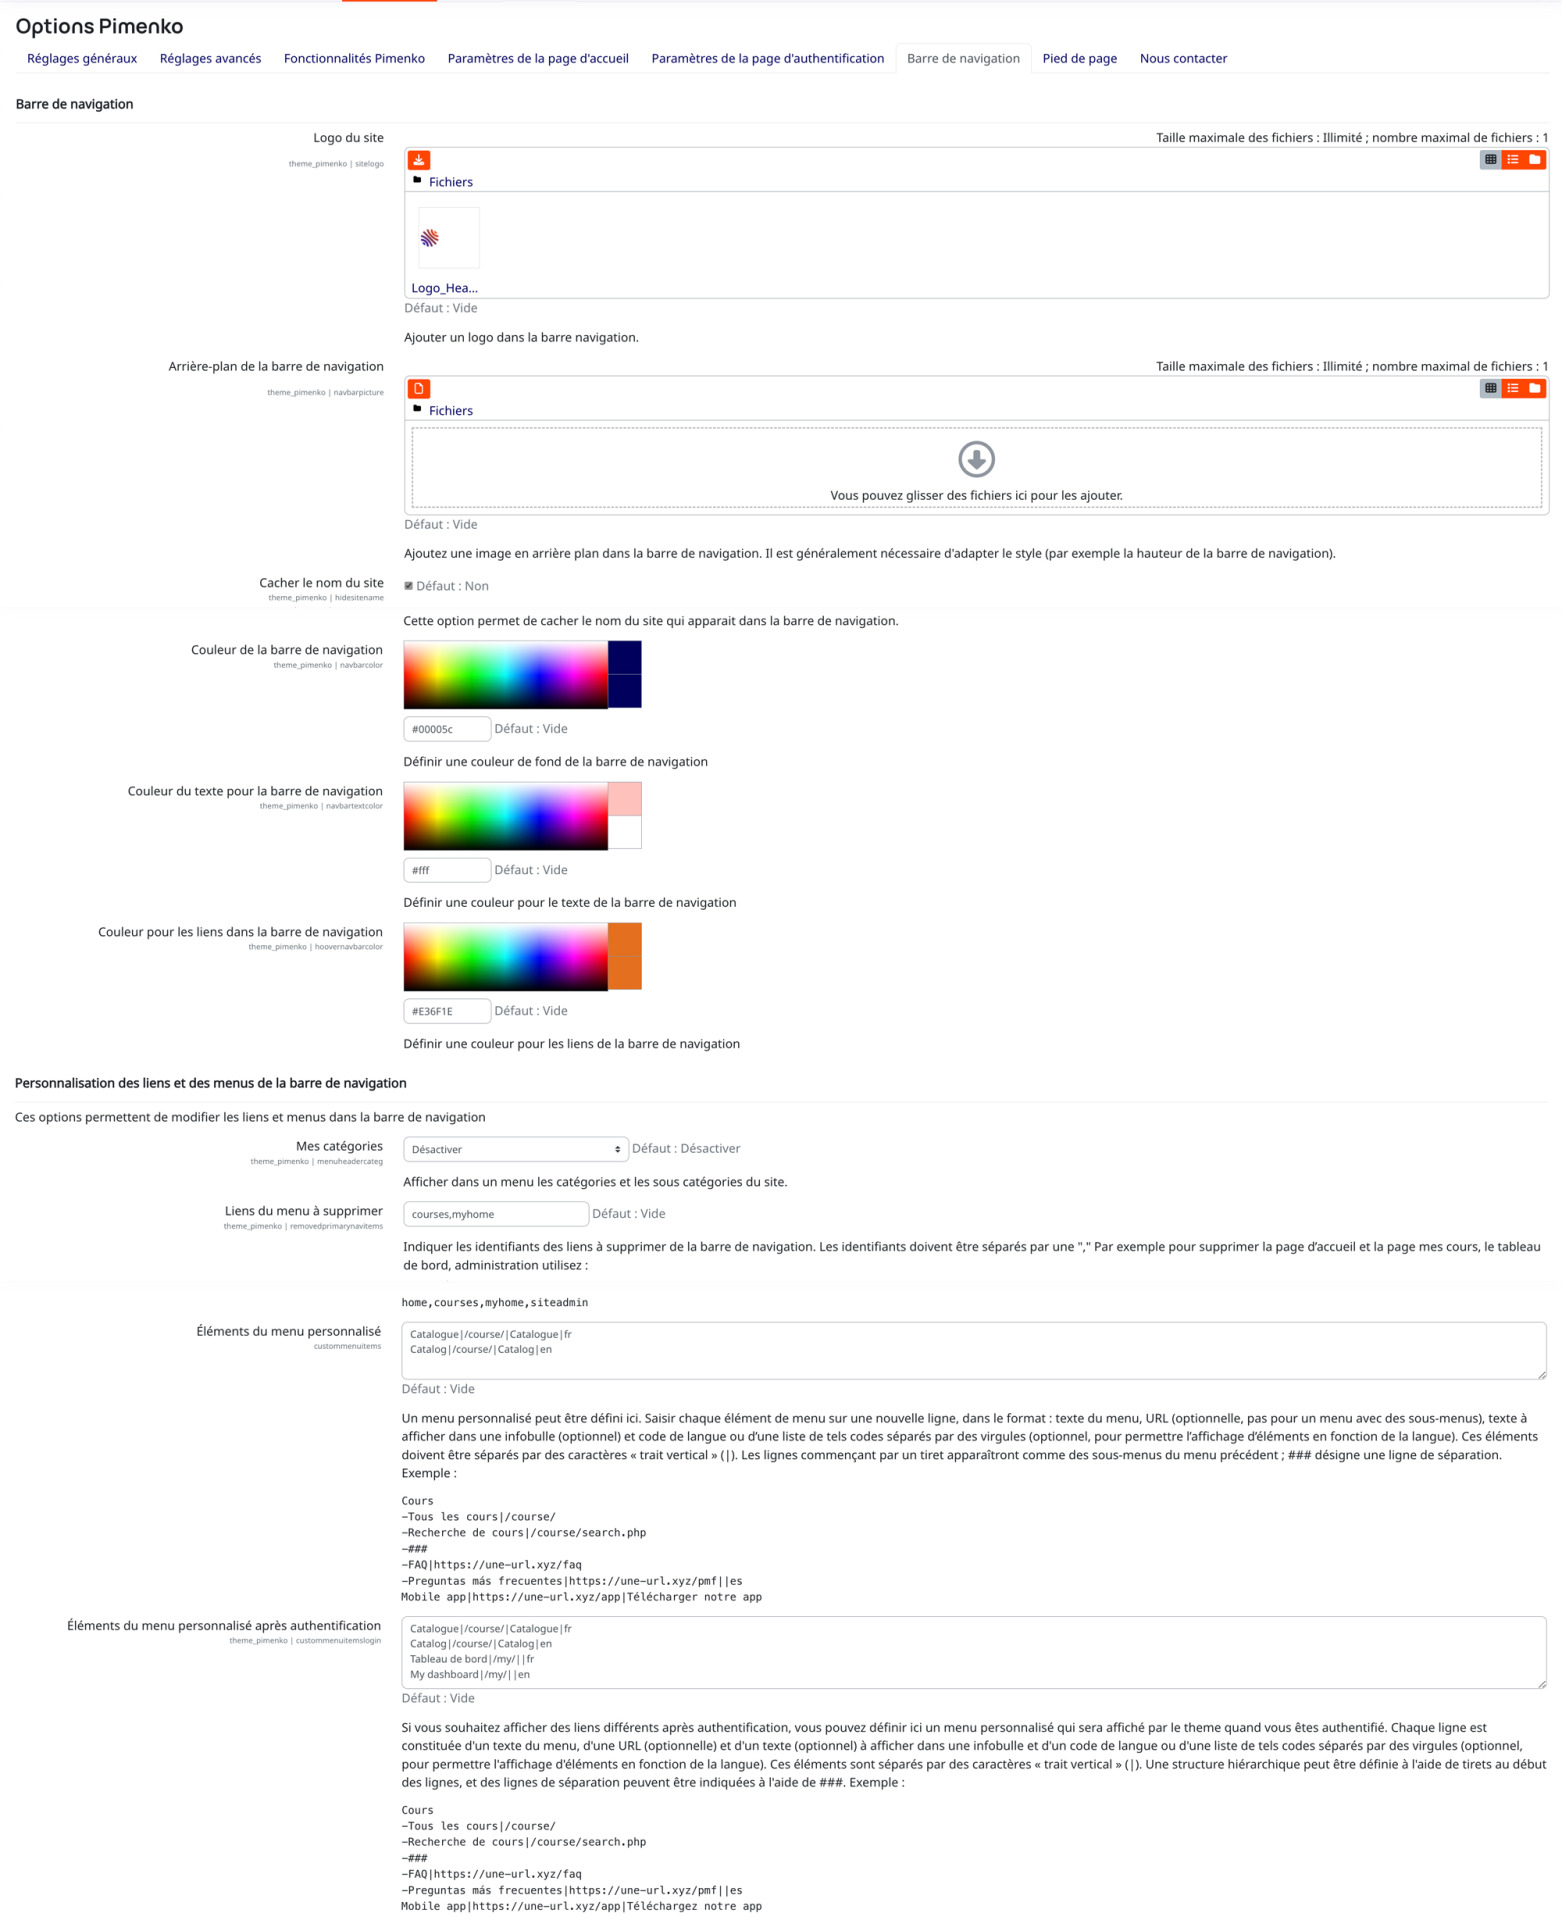
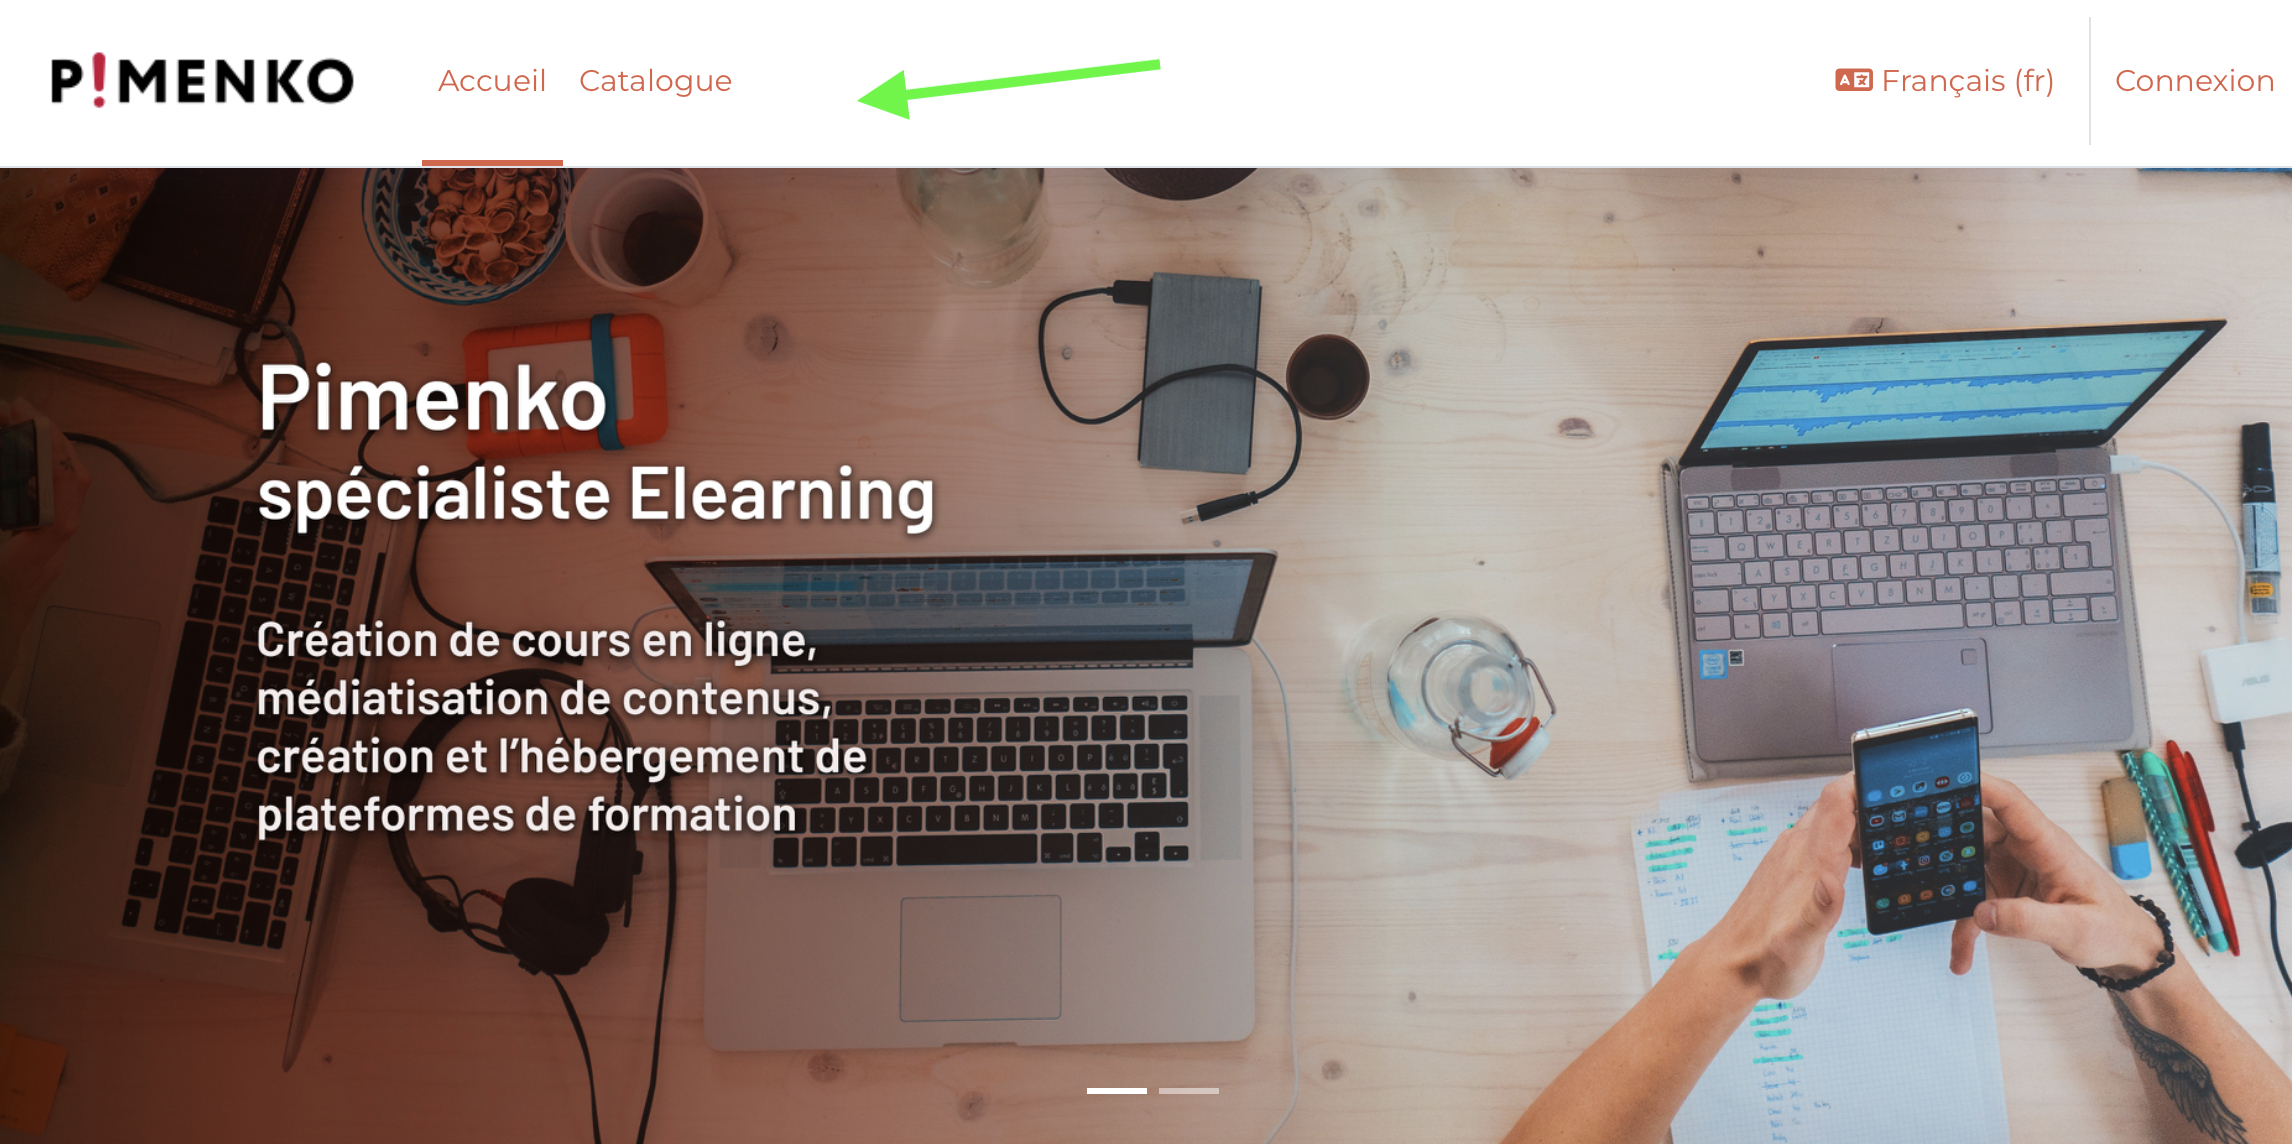
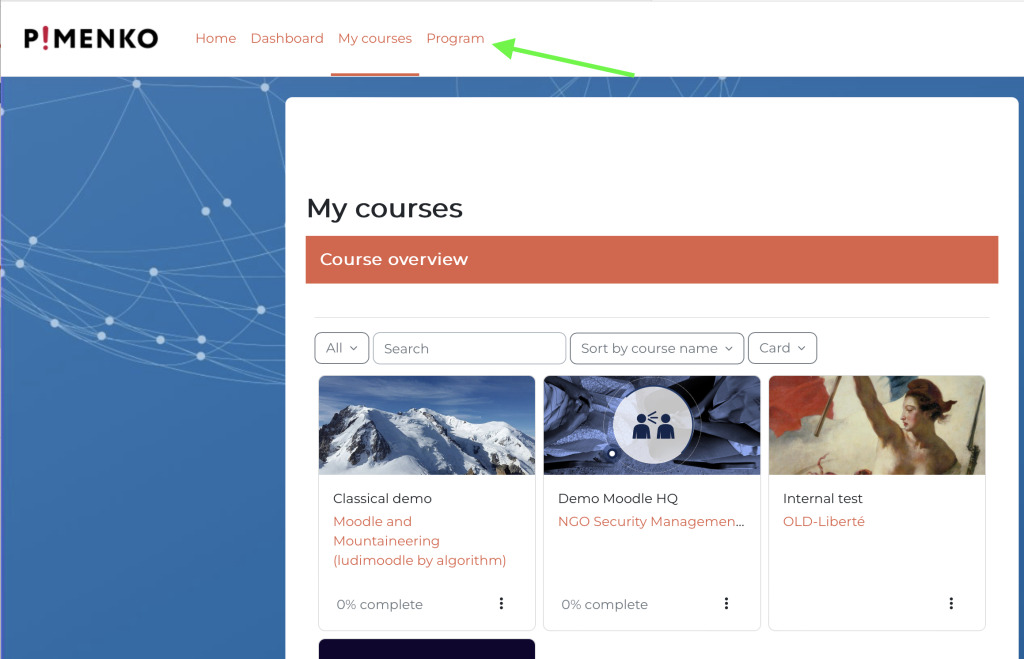
Customize the links in the navigation bar #
To customize the navigation to suit your specific needs:
- Use the “Links to Remove from the Menu” option.
- Enter the URLs of the links you want to remove, separated by commas (for example: “home,mycourses”).
- You can also use the “Custom Menu Items” option to add new links.
Example syntax for adding custom links:
Cours
-Tous les cours|/course/
-Recherche de cours|/course/search.php
-### FAQ|https://votre-site.com/faq
Expert tip: Use “###” to add a separator between menu items.
Add a custom menu for logged-in users #
To provide navigation options specific to authenticated users:
- Look for the option “Custom menu items after authentication.”
- Add your custom links using the same syntax as for the standard menu.
Important: Make sure the links you add are relevant and accessible to logged-in users.
Customizing the footer from the “Footer” tab #
The Pimenko theme offers advanced options for customizing the footer of your Moodle site, allowing you to add important information and strengthen your platform’s visual identity. Here’s how to get the most out of these features.
Configure the footer structure #
To create a footer tailored to your needs:
- Access the Pimenko theme settings.
- Look for the “Footer” section.
- Select the number of columns (up to 4) you want to use.
A three-column layout is often a good balance between information and readability.
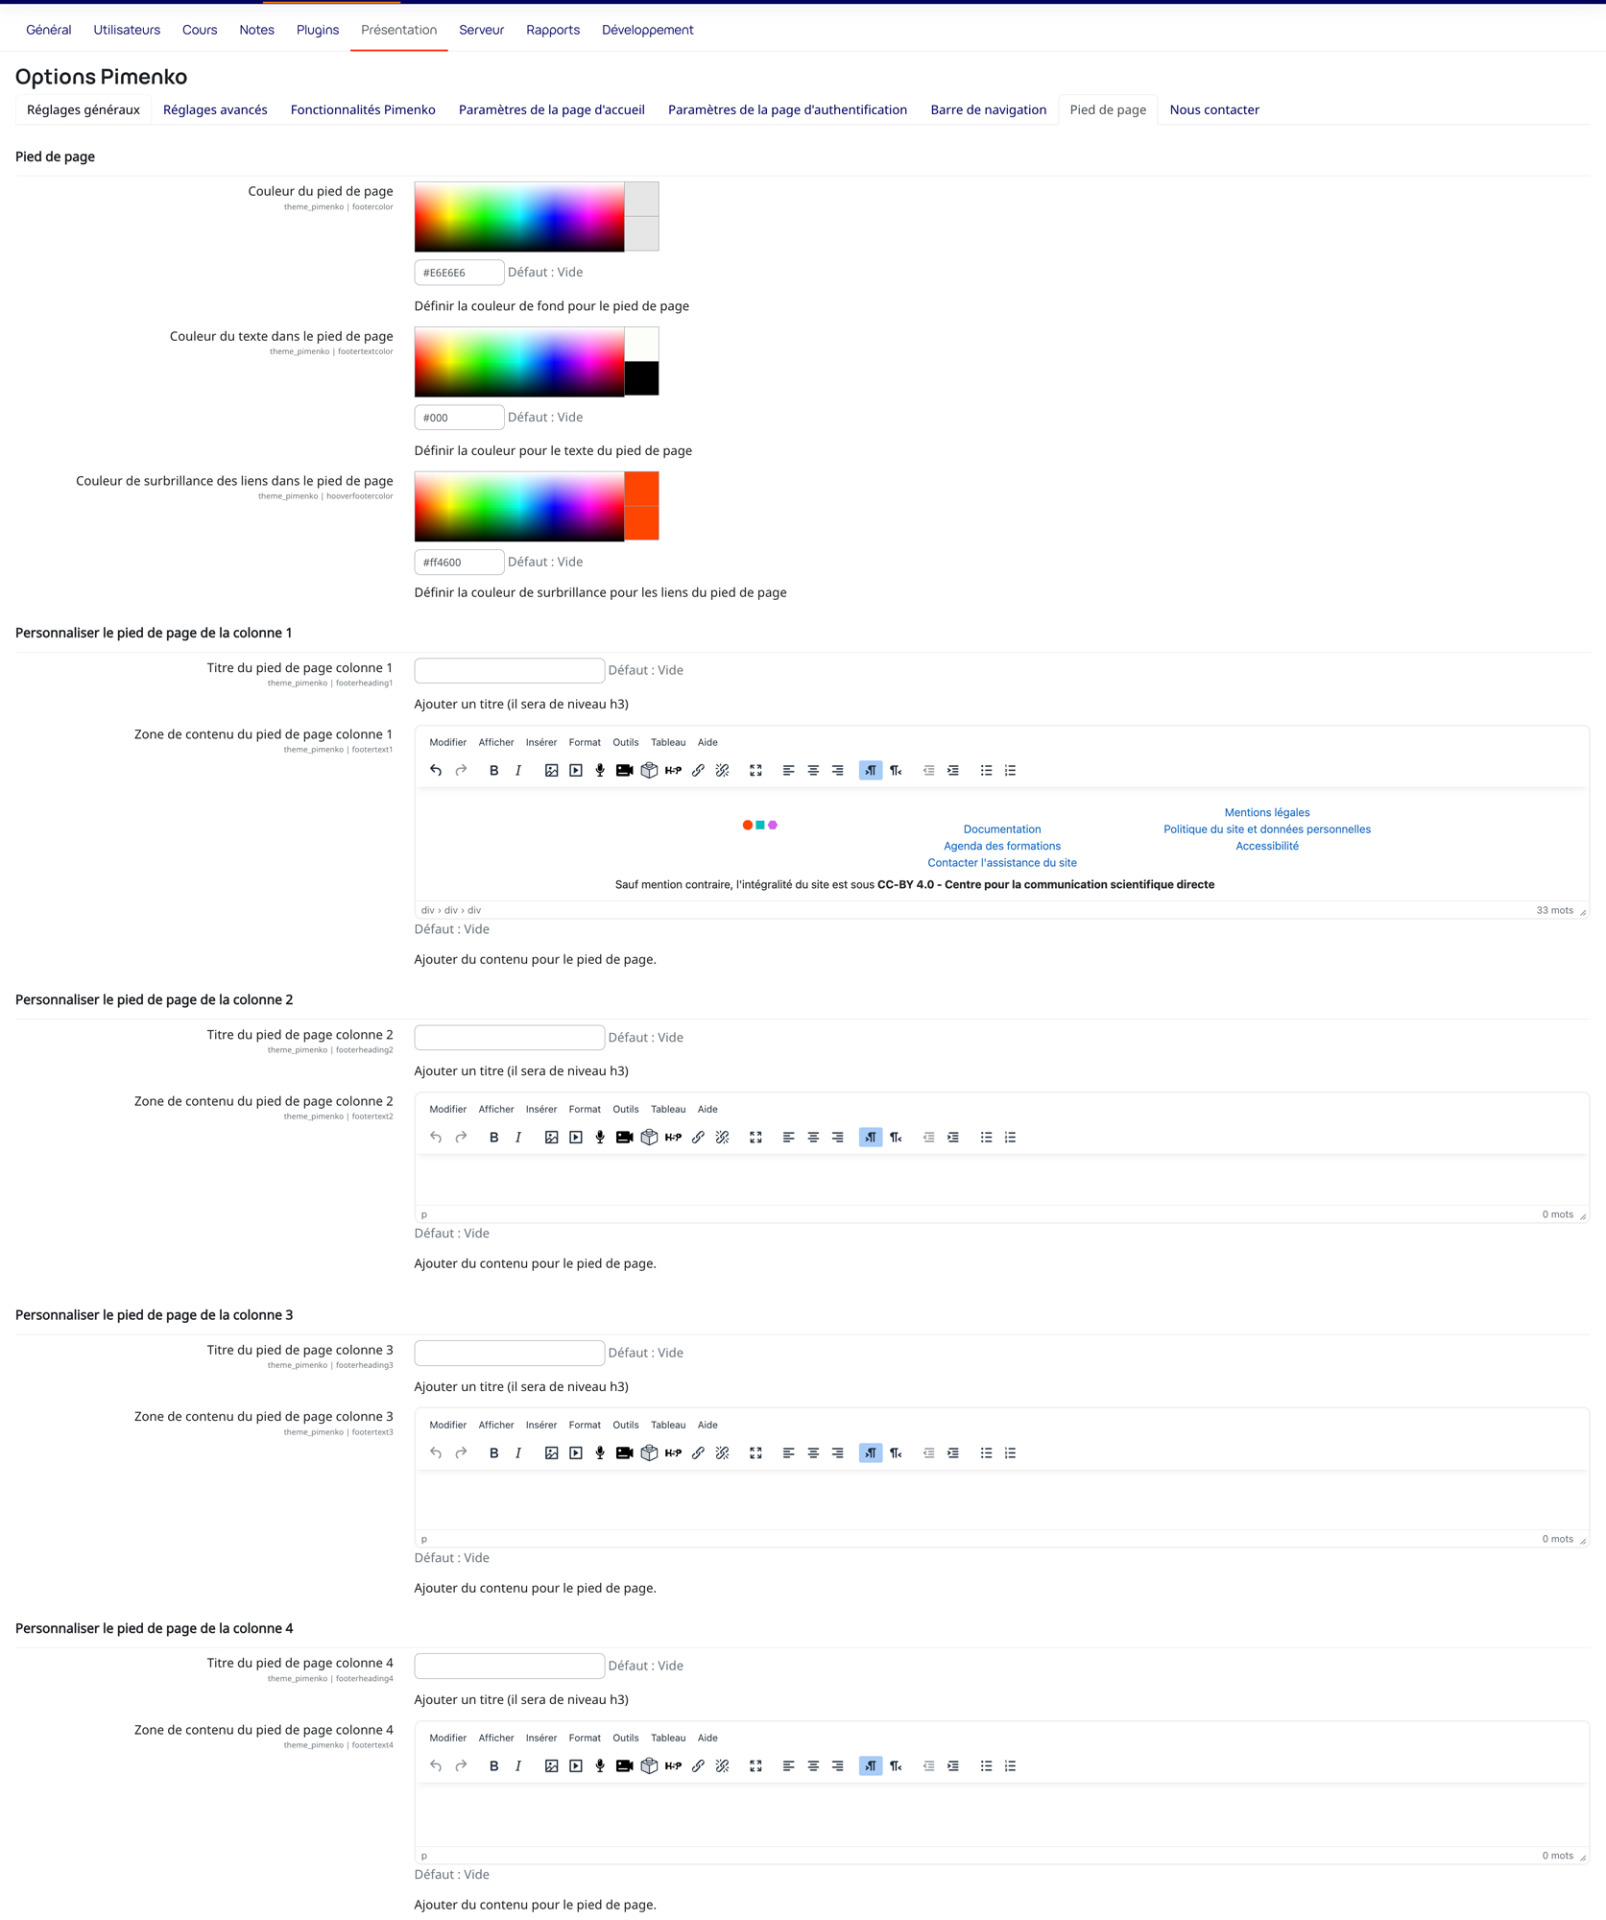
Customize Column Content #
For each column in the footer:
- Find the “Column X Footer Title” and “Column X Footer Content Area” options.
- Add a title ( it will be displayed as an H3 heading).
- Paste your HTML content into the text box.
Sample content:
<ul> <li><a href="/about">À propos</a></li> <li><a href="/contact">Contact</a></li> <li><a href="/legal">Mentions légales</a></li> </ul>
Use the first column for general information, the second for useful links, and the last for social media or contact information.
Adjust the colors of the footer #
To match the footer to your brand guidelines, use the footer color options (making sure to maintain good contrast between the text and the background for optimal readability):
- ” Footer Color” (background color)
- ” Text color in the footer“
- ” Highlight color for links in the footer”
- Choose colors that complement your overall design.
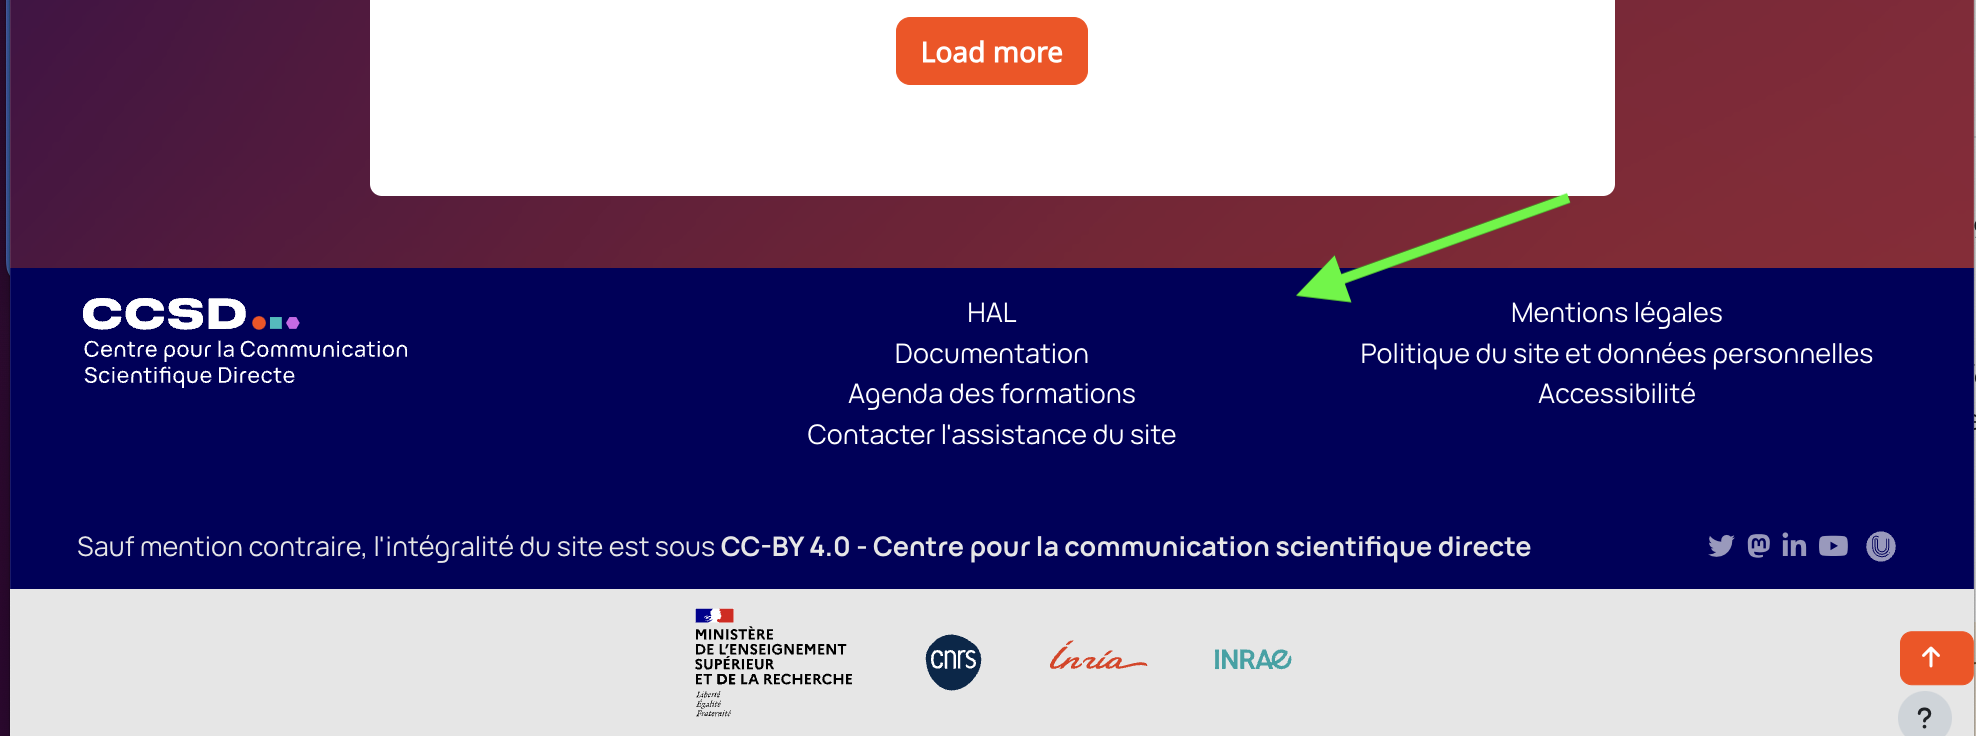
Add social media icons #
To include your social media links in one of the columns (usually the last one), add the HTML code for the social media icons.
Use Font Awesome icons or upload your own images.
Code example:
<a href="https://facebook.com/votre-page" target="_blank"><i class="fab fa-facebook-square fa-2x"></i></a> <a href="https://twitter.com/votre-compte" target="_blank"><i class="fab fa-twitter-square fa-2x"></i></a> <a href="https://linkedin.com/company/votre-entreprise" target="_blank"><i class="fab fa-linkedin fa-2x"></i></a>
Space out your icons properly and make sure they’re large enough to be easily clickable on mobile devices.
Include legal information #
To comply with legal requirements, set aside a column or section for legal notices.
- Include links to:
- Privacy Policy
- Terms of Use
- Information About Cookies
Important: Make sure this information is up to date and complies with current regulations (GDPR, etc.).
Install a Moodle plugin available on GitHub #
You have two options:
Installation via ZIP download (to be tested) #
- Click the green “Code” button, then select “Download ZIP“
- Install the plugin just as you would any plugin downloaded from moodle.org
Installation via GitHub (recommended if you have SSH access to the server) #
Conclusion #
The Pimenko theme offers customization and a unique, intuitive user experience . It is the result of several years of expertise and development.
Combine the various features of this plugin to suit your needs and take advantage of personalized support to optimize your training platform.


